Last updated November 20, 2026
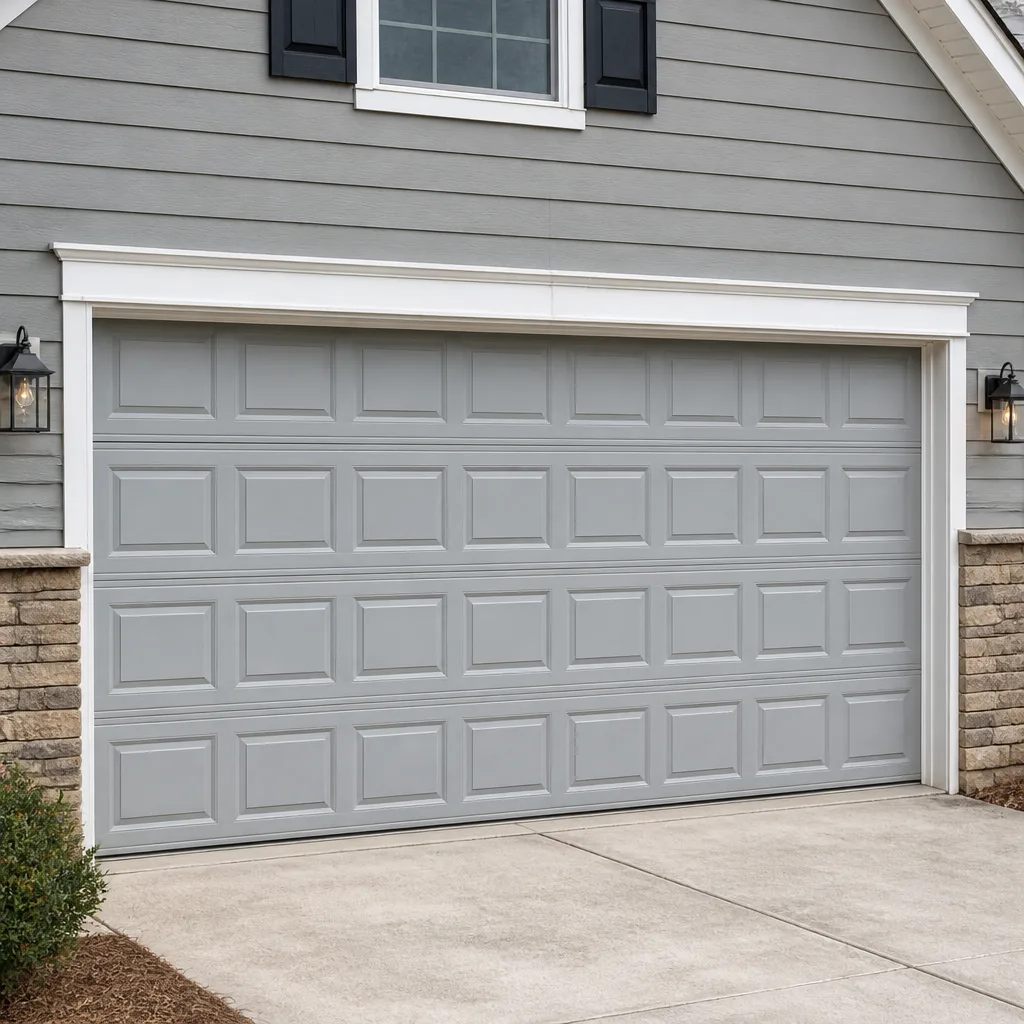 Raised-panel steel
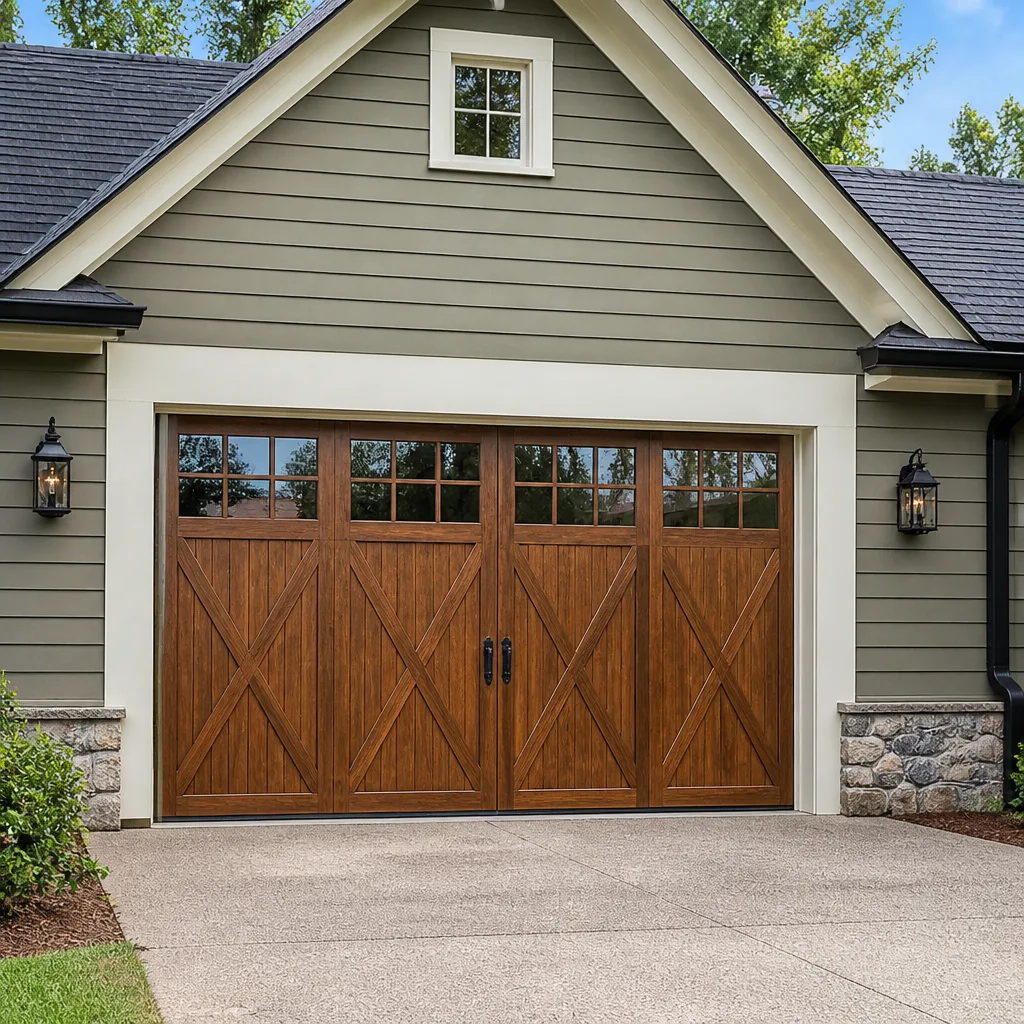 Carriage house
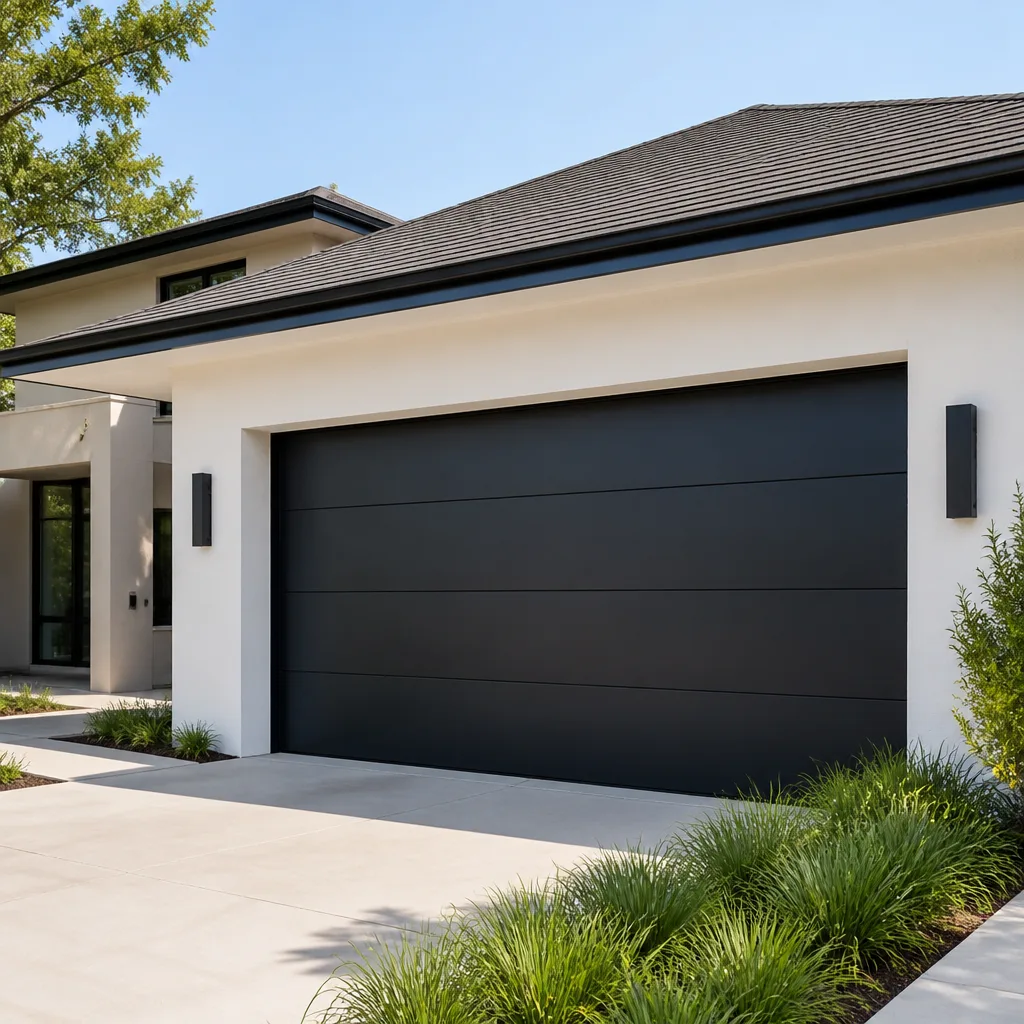 Modern flush
 Full-view glass
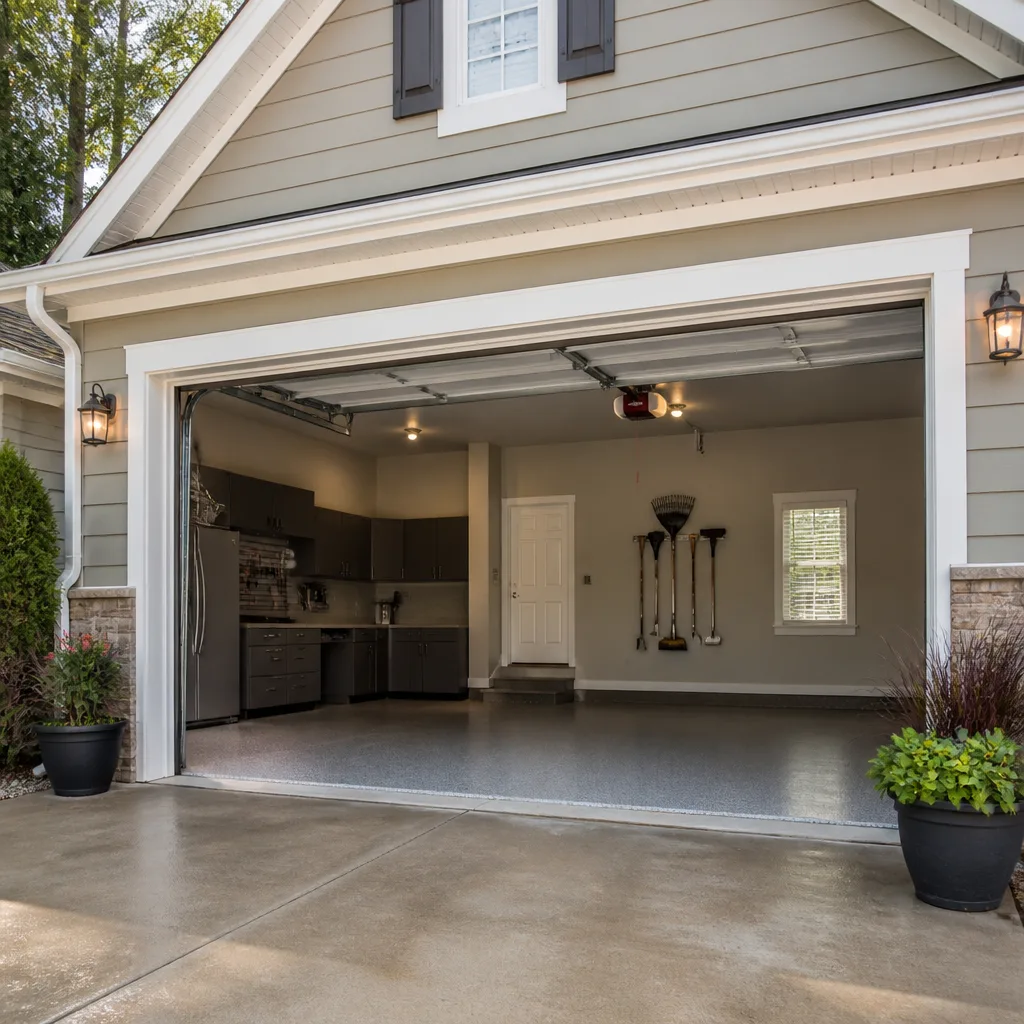 LiftMaster openers
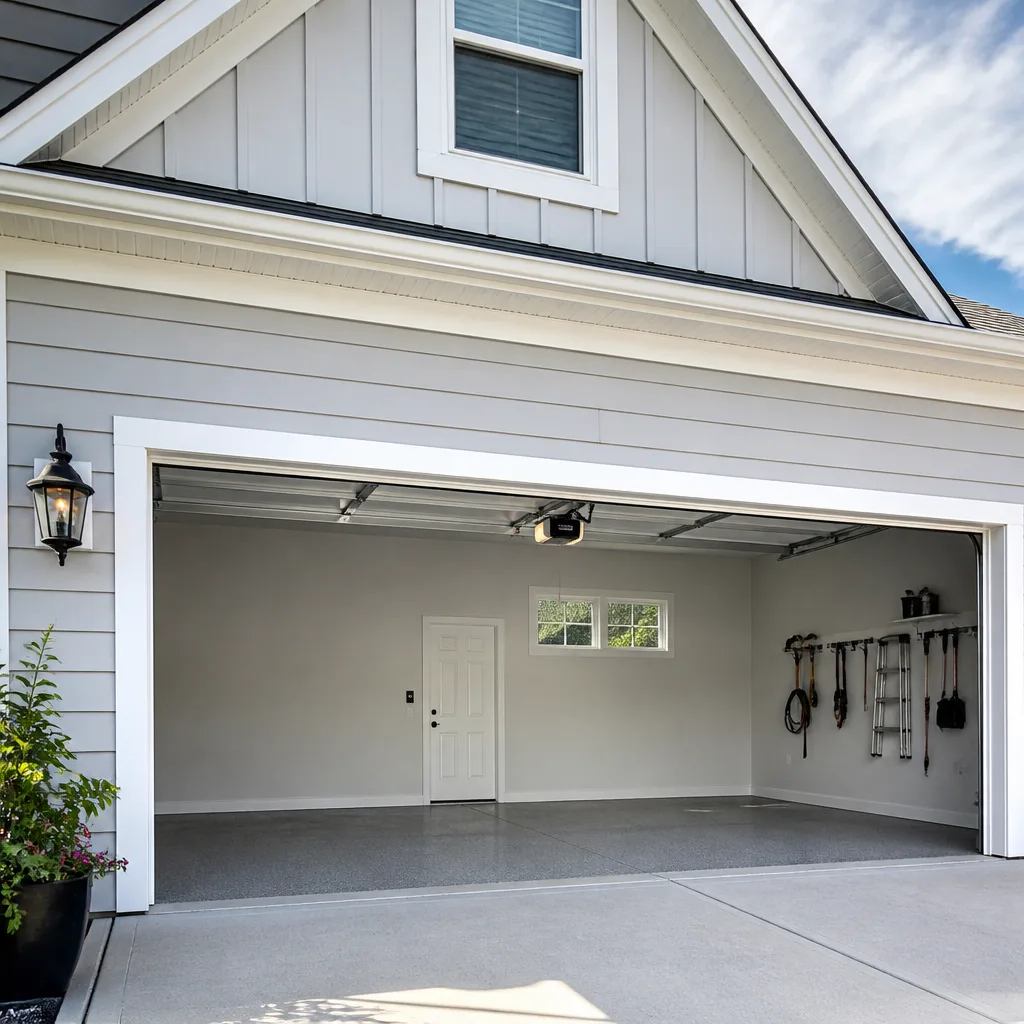 Chamberlain openers
Full 25-point door and opener safety check with every visit - springs, cables, rollers, tracks, and your LiftMaster or Chamberlain opener included
You get a price before we start. It does not change when the pro arrives.
Get your free estimateDIY vs Professional Garage Door: The Lakewood Homeowner’s Decision Guide
Most garage door advice splits into two useless camps: “it’s all easy, just watch a video” or “never touch it, call someone.” Neither is true. The real question isn’t how handy you are. It’s whether the specific task in front of you stores enough energy or torque to hurt you in the time it takes to blink. Replacing a bottom seal is a Saturday morning project. Winding a torsion spring is a hospital visit waiting to happen, and no amount of preparation changes that. This guide draws the line precisely, task by task, so you stop paying for the easy jobs and stop gambling on the dangerous ones. If you live in Lakewood, the climate adds a wrinkle or two you’ll want to know about.
Quick Answer
Safe DIY garage door tasks include replacing weather seals, lubricating rollers and hinges, realigning photo-eye sensors, adjusting opener travel limits, and replacing a remote battery. Do not attempt torsion spring replacement, cable replacement, or panel and track repair that involves releasing spring tension. Those jobs carry serious injury risk and belong to a trained technician. Everything else sits in a middle zone where specific precautions matter.
Styles & brands we work with
- Raised-panel steel
- Carriage house
- Modern flush
- Full-view glass
- LiftMaster openers
- Chamberlain openers
Table of Contents
- The Three Categories Every Garage Door Task Falls Into
- Why Torsion Springs Are Categorically Different
- The Safe DIY List: Tasks You Can Do This Weekend
- DIY With Precautions: The Middle Zone
- The Cost Math: Five Common Repairs, DIY vs Professional
- Colorado Warranty Considerations for Newer Homes
- How to Diagnose the Problem Yourself
- What Brand You Own and Why It Matters
The Three Categories Every Garage Door Task Falls Into
Garage door work sorts into three buckets based on one thing: whether the task requires you to release or work against stored mechanical energy. Everything that doesn’t touch spring tension, cable tension, or a door’s weight under load is fair game for a careful homeowner. Everything that does is a professional job, full stop.
Here’s the split we use when a Lakewood homeowner calls and asks whether they should tackle something themselves:
- Safe DIY: Seals, lubrication, sensor alignment, opener programming, remote batteries, visual inspections, tightening exposed bolts on non-load-bearing hardware.
- DIY with precautions: Roller replacement, hinge replacement on a door that’s fully down, opener force and travel adjustments, bottom bracket inspection without disassembly.
- Do not attempt: Torsion spring replacement or adjustment, extension spring replacement, cable replacement, drum and bearing plate work, track realignment on a door that’s bound up, and any panel swap that requires unbolting a hinge holding cable tension.
The reason this matters more in Lakewood than in some other places is the swing between dry summers and freeze-thaw winters along the Front Range. That cycle works hardware loose and dries out seals faster than a mild climate would. You’ll get more small maintenance tasks here than a homeowner in a temperate zone, which makes knowing the safe list more valuable, not less. When the repair climbs into the third category, that’s when you look at garage door repair rather than an online tutorial.
Why Torsion Springs Are Categorically Different
A torsion spring is a coiled steel bar under constant tension that holds the entire weight of your door. When it’s wound, it stores enough energy to move hundreds of pounds. When it releases suddenly, it does so in a fraction of a second, with no warning, and it doesn’t care where your hands are.
“Winding” a spring means using two steel rods to crank the coil tighter against the shaft until it reaches the precise tension that balances the door. It’s not a matter of turning until it feels right. There’s a specific number of turns based on door height, spring size, and door weight, and getting it wrong means either a door that won’t stay up or a spring that’s dangerously over-tensioned. The rods themselves can slip out of the winding cone under load. When that happens, the rod becomes a projectile and the spring unwinds in an instant.
This is the part most DIY guides skip. No amount of watching video helps, because you can’t rehearse away an energy release that fast. Our technicians have up to 14 years of experience and treat every spring job as a two-person, controlled-release procedure for exactly this reason. Spring repair is a named specialty for us, not a footnote.
If your door won’t lift, or lifts a few inches and stops, or you hear a loud bang from the garage, the spring is the first suspect. Leave it alone and call. A snapped spring is not dangerous sitting there, but the door it was holding up is now dead weight that can come down hard if you try to force it. We handle garage door spring repair as one of our core services, and it’s the one category where we’d rather you didn’t experiment at all.
The Safe DIY List: Tasks You Can Do This Weekend
These tasks involve no spring tension and no door weight on your hands. A homeowner with basic tools and an hour can complete any of them. If you’re in Lakewood and want to save a service call, start here.
- Replace the bottom weather seal. The rubber or vinyl strip along the bottom of the door pulls out of its retainer track. Slide the old one out, slide the new one in, trim to length. Takes 30 to 45 minutes. Seals crack faster in our dry climate and let in cold air and pests, so this is a yearly check.
- Lubricate rollers, hinges, and the torsion shaft bearings. A garage door lubricant (not WD-40) on metal-on-metal contact points quiets a noisy door and extends roller life. Ten minutes with a can.
- Realign photo-eye sensors. If the door reverses immediately after starting to close, the sensors at the bottom of the tracks are misaligned or blocked. Loosen the wing nut, aim the LED at the other sensor’s LED, tighten. Five minutes.
- Adjust opener travel limits. If the door doesn’t close all the way or reverses before hitting the floor, the travel limit screws on the opener body adjust the stopping point. Every major opener (LiftMaster, Chamberlain, Genie, Craftsman) has an adjustment screw or two and a manual with the procedure.
- Program a new remote or keypad. Pairing a remote to a LiftMaster or Chamberlain opener is a button press on the motor head and a button press on the remote. The manual walks you through it.
- Replace remote and keypad batteries. Obvious but skipped constantly. A dead battery mimics a broken opener.
- Tighten loose bolts on the door’s hinges and rollers. Hand-tight, not torqued down hard. Over-tightening cracks the hinge.
Every task on this list is genuinely safe. If a task isn’t here and isn’t in the next section, assume it belongs to a professional.
DIY With Precautions: The Middle Zone
Some tasks are safe if you follow a specific precaution and dangerous if you skip it. These sit between the easy list and the never-touch list.
- Roller replacement: Safe when the door is fully closed and the spring is intact. Never replace rollers with the door up. The spring is holding the door overhead and releasing a roller bracket under load can drop it.
- Hinge replacement: The hinges in the middle of the door are safe to swap with the door down. The bottom hinge and the hinges that carry cable tension at the corners are not. Those are cable-loaded and belong to a technician.
- Opener force adjustment: You can raise the force setting if the door is dragging on an obstruction. But if you’re raising force to get past a stiff door, the door has a mechanical problem that will get worse. Force adjustment is a symptom fix, not a repair.
- Visual inspection of the spring and cables: Look, don’t touch. A spring with a visible gap or a coil that’s separated is broken. A cable with a frayed strand is failing. Both mean a professional call.
One rule that applies everywhere: never put your fingers between the door sections or in the track, even with the door down and the opener unplugged. Doors can be bumped or shifted and fingers don’t survive that.
The Cost Math: Five Common Repairs, DIY vs Professional
Thinking about cost is where DIY decisions get made, so here’s a realistic split. These are typical estimated ranges for the Lakewood market. The written estimate from a technician sets the final price. Parts and time numbers are what a competent homeowner would spend on materials and hours.
| Repair | DIY parts + time | Typical professional range | Verdict |
|---|---|---|---|
| Bottom weather seal replacement | $20 – $45, 30 – 45 min | $90 – $150 installed | DIY |
| Photo-eye sensor realignment | $0, 5 – 10 min | $75 – $125 service call | DIY |
| Roller replacement (set of 10) | $30 – $70, 1 – 2 hrs | $150 – $300 installed | DIY if door is down and spring intact |
| Opener repair or replacement | $120 – $250 for a unit, 3 – 4 hrs | $200 – $450 repair, $350 – $650 replacement installed | Professional |
| Torsion spring replacement (one spring) | Parts $40 – $100, wound incorrectly = injury | $180 – $340 for one spring | Professional, always |
A matched pair of springs is usually replaced together, so a pair typically runs about twice the single-spring figure. Ask whether your door takes one or two before you compare numbers.
The math favors DIY for the top three rows and favors a professional for the bottom two. What most people miss: the cost of a professional spring job is not buying a service, it’s buying the absence of an injury. Our team handles garage door opener repair as a separate specialty from spring work, and the two are priced differently because the risk and the diagnosis are different. When a homeowner calls us in Lakewood for an opener that won’t respond, that’s usually a $200 – $450 repair. When the spring is broken, that’s a spring job. Different skill, different stakes.
Colorado Warranty Considerations for Newer Homes
If your Lakewood home is under 10 years old, you might still have a builder warranty or a manufacturer warranty on the door or opener. This changes the DIY question in a way most guides ignore.
Opener and door manufacturers typically warranty their product against defects but not against damage from improper installation or repair. If you swap a torsion spring yourself and get the tension wrong, you can bend the shaft, damage the bearing plate, or crack a panel – and that damage usually isn’t covered. Same goes for a botched opener install that burns out the logic board. The manufacturer will look at the install and can decline the claim.
Builder warranties vary widely, so it’s worth a look at your closing documents before you take on anything beyond the safe DIY list. As a general rule, warranty-sensitive work on a newer door is where the professional call pays for itself even if the repair cost is modest, because the warranty is what you’re protecting. Most cities in the area also require a permit for a full door replacement, so ask Lakewood’s building department about permits before you plan anything structural. We can point you in the right direction, but the permit rule is the city’s to state.
How to Diagnose the Problem Yourself
You don’t need to repair the door to be informed going into a service call. Accurate diagnosis is genuinely useful, and it’s the one part of the process a homeowner can do well. Here’s how we’d tell you to check a garage door that’s misbehaving:
- Listen to the door, not the opener. A loud bang followed by a door that won’t lift means the spring. A grinding noise that continues while the door sits still means the opener gear. A squeal that tracks with door movement means rollers or hinges.
- Try the manual release. Pull the red rope handle with the door down and the opener disconnected. If the door won’t lift off the floor with hand pressure, the spring is broken or the door is in a bind. If it lifts easily, the spring is likely fine and the problem is the opener or the sensors.
- Check the photo-eyes. Look at the two sensors at the bottom of the tracks. Each has an LED. If one is out or blinking, the eyes are misaligned or blocked. A spider web, a leaf, or a box in the path will stop the door.
- Check the opener’s indicator light. LiftMaster, Chamberlain, Genie, and Craftsman openers all have a diagnostic LED on the motor head that flashes a code. The manual maps the code to a fault. That code tells the technician a lot before they arrive.
- Look at the spring, don’t touch it. If you see a gap in the coil, that’s a broken spring. Photograph it before you call.
Come into a call knowing whether the door lifts by hand, whether the eyes are lit, and what noise it makes. That’s the difference between a diagnostic hour and a five-minute confirmation. We appreciate a homeowner who’s already done the reading. Our technicians have up to 14 years of experience, but we’d rather they spend that time fixing the door than diagnosing a symptom you could have identified in two minutes.
What Brand You Own and Why It Matters
A door is not a generic machine. A Clopay door has different panel attachment points than an Amarr. A LiftMaster opener has different logic board layout and programming than a Genie. When you call a technician, knowing the brand tells them which manual, which parts catalog, and which known failure pattern applies.
We’re factory-familiar with eight of the most widely installed brands in residential homes: LiftMaster, Chamberlain, Genie, Clopay, Amarr, Wayne Dalton, Craftsman, and Raynor. Whatever brand is on your door, we know it. That matters for diagnosis and it matters for parts, because we can source the correct component the first time instead of guessing at a universal fit.
For a homeowner doing DIY, the brand matters too. The manual for your exact opener model has the travel limit and force adjustment procedure. Find it before you touch a screw. For a full replacement, brand familiarity is even more important, and that’s where garage door installation becomes a selection conversation, not just a price quote. We install from top-tier manufacturers and can talk you through the difference in door styles and insulation levels instead of pushing one product line.
If you’ve been putting off any of this and want a starting point, our Lakewood Garage Door Repair Pros pages break down each service. The reason it matters that we cover all five categories – repair, opener repair, spring repair, installation, and parts – is that you’re not handed to a dealer or manufacturer just because your door is a Raynor versus a Wayne Dalton. We handle it.
Common Mistakes to Avoid
- Trying to open or close a door with a broken spring. The opener can pull a door up a few inches against dead spring tension, but the door won’t stay up and can drop. The opener motor also burns out trying. Call instead of forcing it.
- Using WD-40 instead of garage door lubricant. WD-40 is a solvent, not a lubricant. It dries out rollers and attracts dust faster than it helps. A proper door lubricant is what the rollers want.
- Raising opener force to hide a stiff door. This is the most common DIY mistake we see in Lakewood. If you have to say yes to a higher force setting, the door has a bind that will get worse. Fix the bind, don’t raise the force.
- Replacing one spring when both are worn. Springs are matched in pairs by cycle life. Replacing one leaves you with a door that’s out of balance within months and often a second call. A matched pair is the correct answer, and the pair costs roughly twice the single-spring figure.
- Working on the door with the opener plugged in. Unplug the opener before any inspection with your hands near the door or track. A sensor trip or a phantom signal can start the motor while your hands are inside.
- Ignoring a small dent in the track. Front Range freeze-thaw works a small dent into a bend over a season. A door that scrapes a dented track will eventually bend a roller or jump the track entirely. Fix the dent early.
- Taking a warranty repair to a general handyman. A handyman without garage door training on a warranty-sensitive job can leave you with a declined manufacturer claim on a newer Lakewood home. Use a garage door specialist on anything the warranty covers.
See the difference
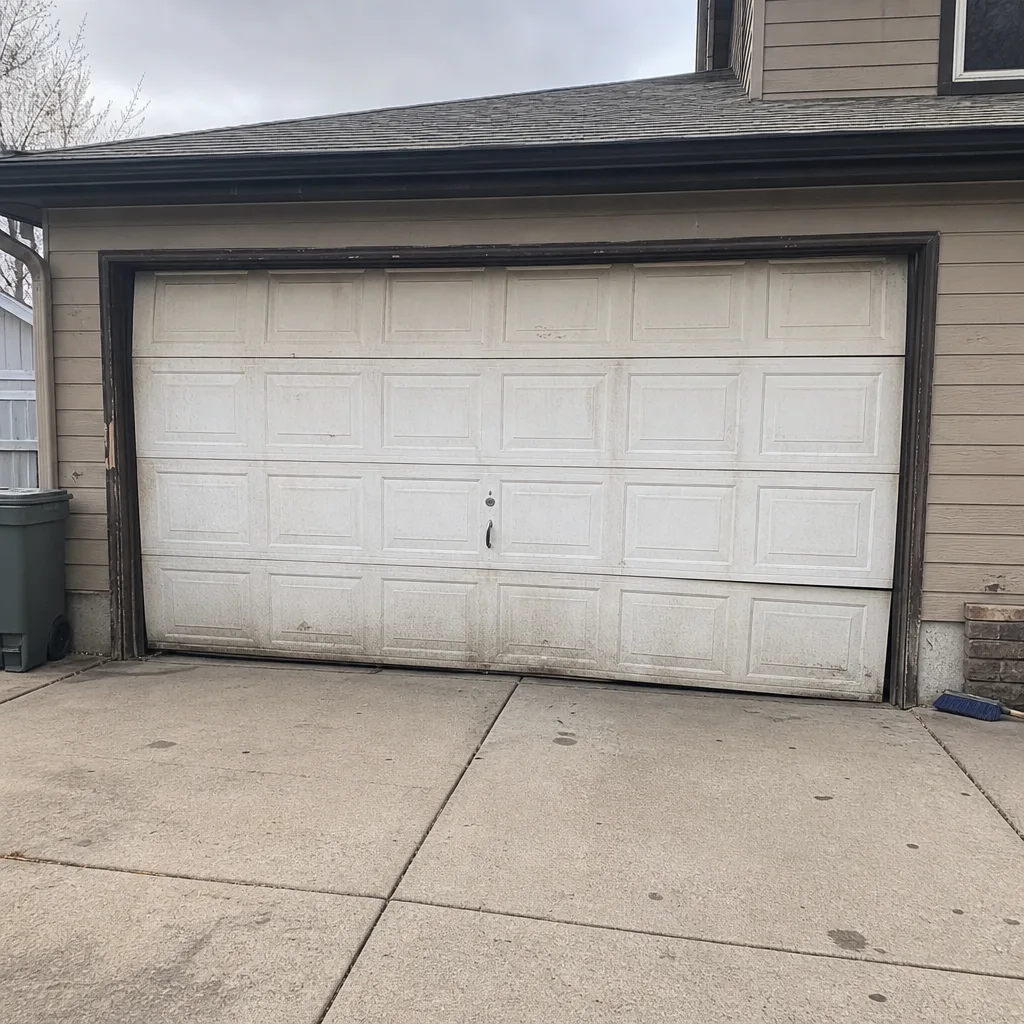 Before
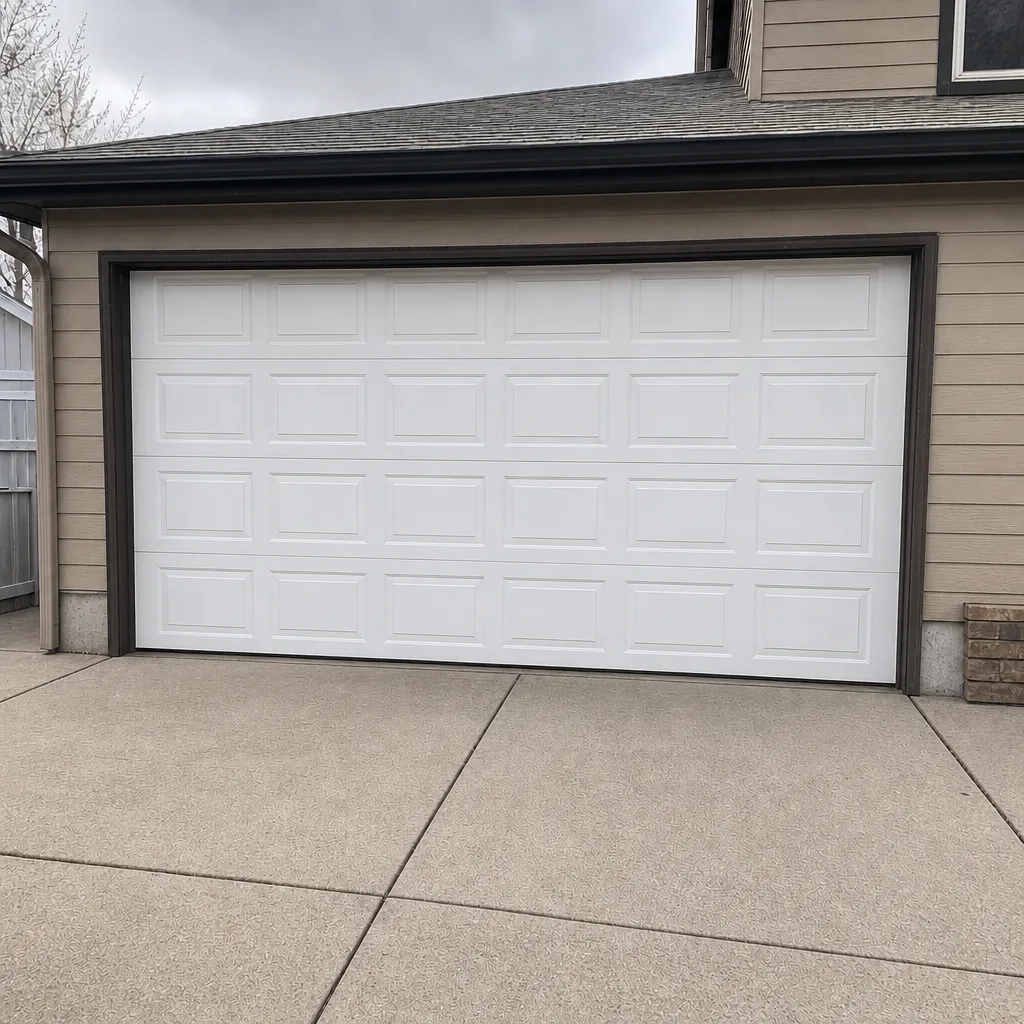 After
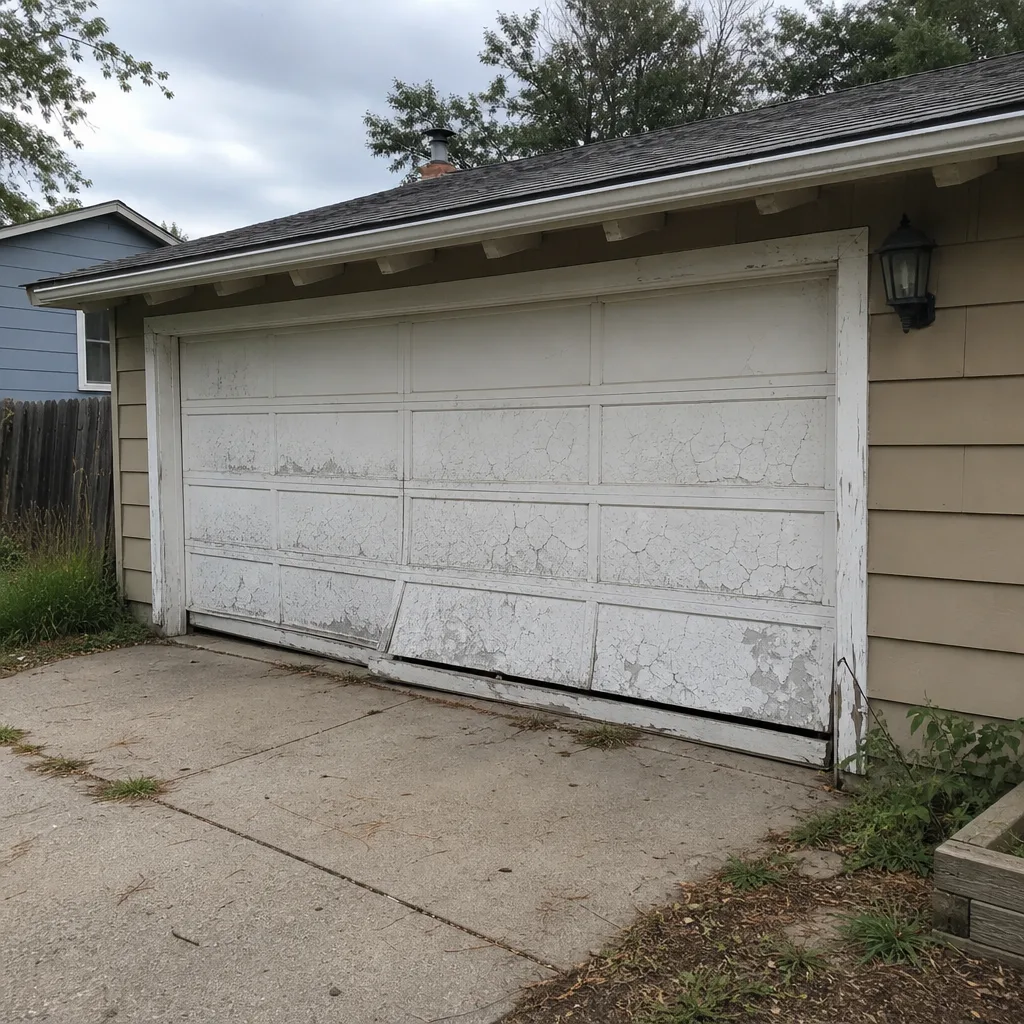 Before
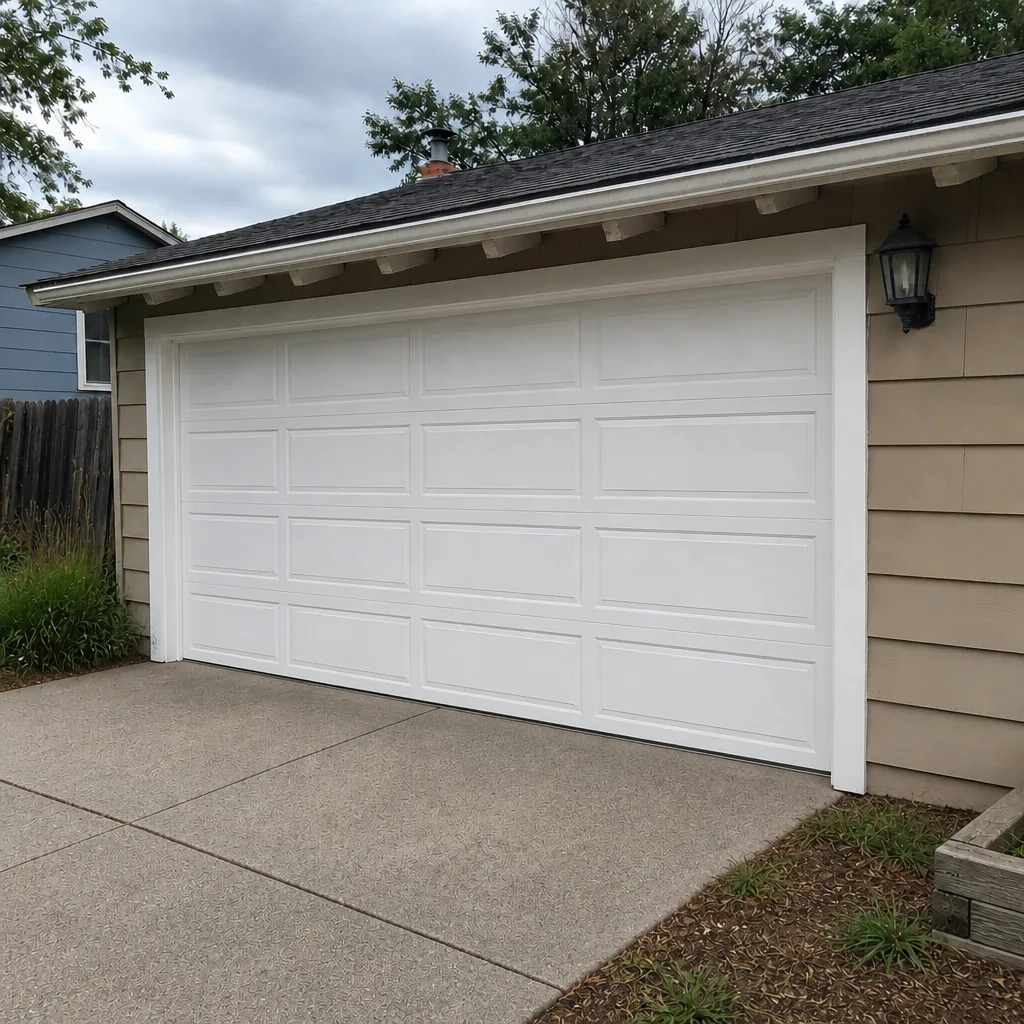 After
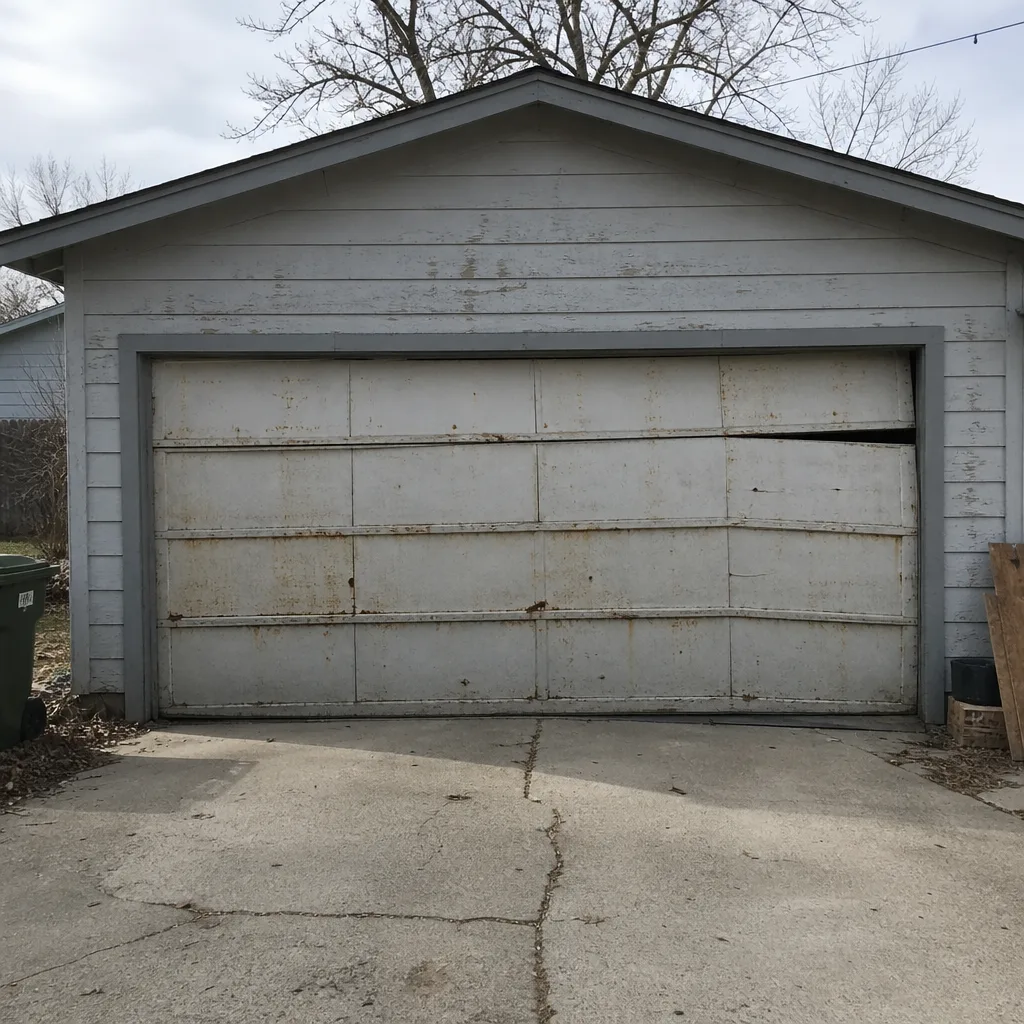 Before
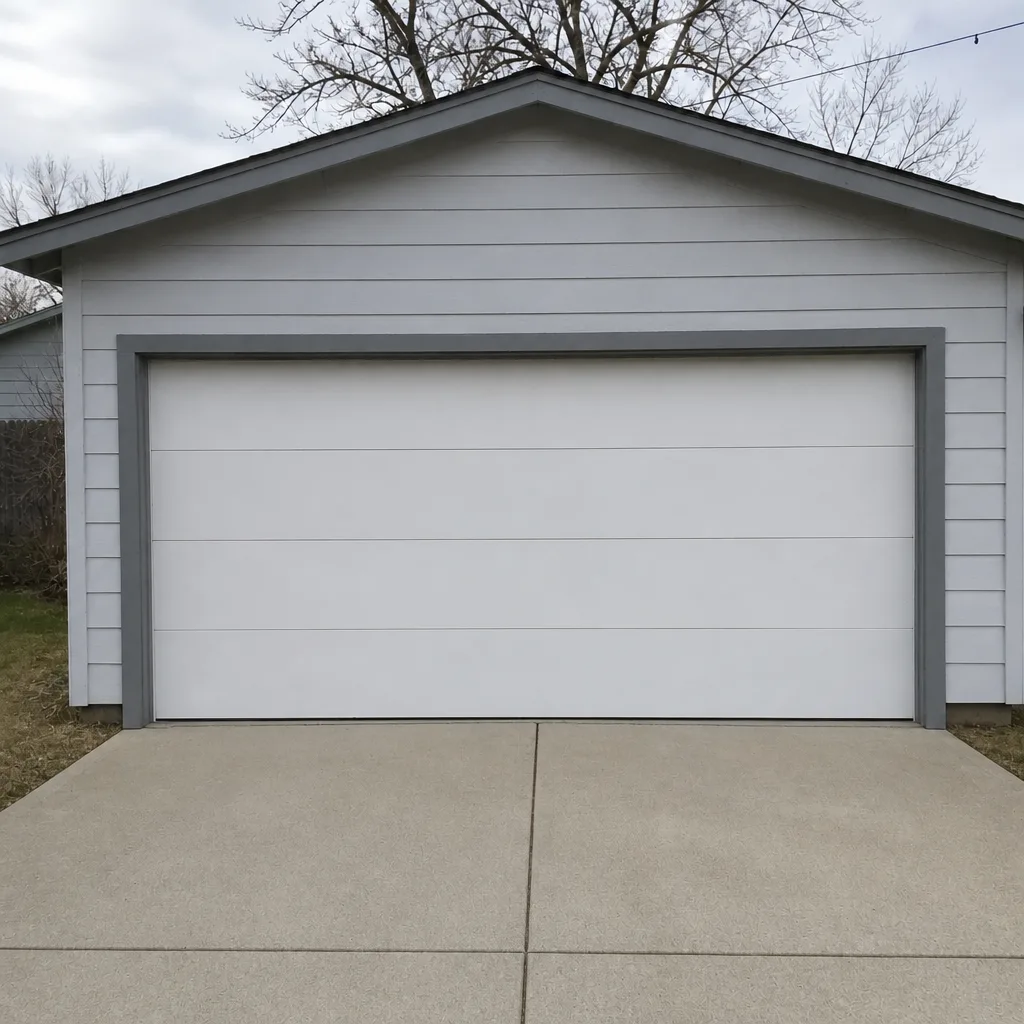 After
When to Call a Professional
Call a professional when the task involves spring tension, cable tension, door weight under load, or anything you’d need to release before you can inspect it. That includes torsion and extension spring replacement, cable and drum work, bottom bracket and hinge replacement, track realignment on a bound door, and any panel swap that requires unbolting a loaded hinge. It also includes opener repair you can’t isolate to a battery or a sensor, because the logic board and gear assembly aren’t homeowner service items. And call if you’re not sure which category a task falls into. A wrong guess on a loaded component is a bad way to find out.
Lakewood Garage Door Repair Pros offers free estimates in Lakewood – call (833) 608-4285. The price is quoted and agreed before any work starts, so you know the number before anyone touches the door.
Frequently Asked Questions
No. Torsion spring replacement is the one garage door task no homeowner should attempt. The spring stores enough energy to cause permanent injury in under a tenth of a second, and winding it requires two rods and a specific number of turns based on your door’s height, spring size, and weight. Getting any of those wrong means an over-tensioned spring or a door that won’t balance. Call a technician for spring work. Estimates are free – call (833) 608-4285.
A typical garage door repair in Lakewood runs from about $75 to $150 for simple sensor or adjustment work, $150 to $300 for roller and hinge replacement, and $180 to $340 for a single torsion spring. A matched spring pair is about twice the single-spring figure. The written estimate from the technician sets the final price, so you’ll have the number before work starts. Call (833) 608-4285 for an exact quote – estimates are free.
Adjusting travel limits and pairing remotes is safe for most homeowners and takes minutes. Force adjustment is safe to perform but is usually a symptom fix, not a repair, so treat it as a flag to inspect the door rather than a permanent solution. Opener gear or logic board repair belongs to a technician. If you’re not sure which setting you’re changing, call (833) 608-4285 – a technician can walk you through whether it’s a homeowner task.
It can. Manufacturer warranties generally don’t cover damage from improper repair or installation, and a botched spring or opener install can damage the shaft, bearing plate, or logic board in ways a manufacturer will decline. Builder warranties on newer Lakewood homes have their own rules, so check the closing documents before attempting anything beyond seals, lubrication, and sensor alignment. Ask your city’s building department about permit rules before any structural replacement.
Repair calls in Lakewood often can be handled the same day, with response available from 7am to 7pm. Spring replacement, opener repair, and track realignment are usually same-day or next-day work depending on parts. A full installation or replacement door is a scheduled project – that work involves measurement, ordering, and a lead time, not a same-day promise. Call (833) 608-4285 for an availability check.
We service eight of the most widely installed brands in residential homes: LiftMaster, Chamberlain, Genie, Clopay, Amarr, Wayne Dalton, Craftsman, and Raynor. That covers the openers in the overwhelming majority of homes and the door manufacturers across most residential installs. Whatever brand is on your door, our technicians are familiar with the system and can source parts without redirecting you to a dealer. Call (833) 608-4285 to confirm yours.
The Bottom Line
The DIY question on a garage door comes down to stored energy. Seals, lubricant, photo-eyes, travel limits, and remote batteries are yours to handle, and doing them saves real money. Springs, cables, and loaded hardware are a technician’s job, and the cost of a professional call is cheaper than the cost of getting it wrong. Newer Lakewood homes add a warranty wrinkle: check before you touch anything structural. And if you’re unsure which side of the line a task falls on, that uncertainty is your answer. Do the diagnosis yourself so you go into a call informed. Leave the energy release to someone trained for it.
If you’ve reached the point where a repair needs a professional, we’re ready to help. Lakewood Garage Door Repair Pros offers free estimates and upfront pricing, and every price is quoted and agreed before work begins. Call (833) 608-4285 to schedule a free estimate in Lakewood.
Written by the team at Lakewood Garage Door Repair Pros.