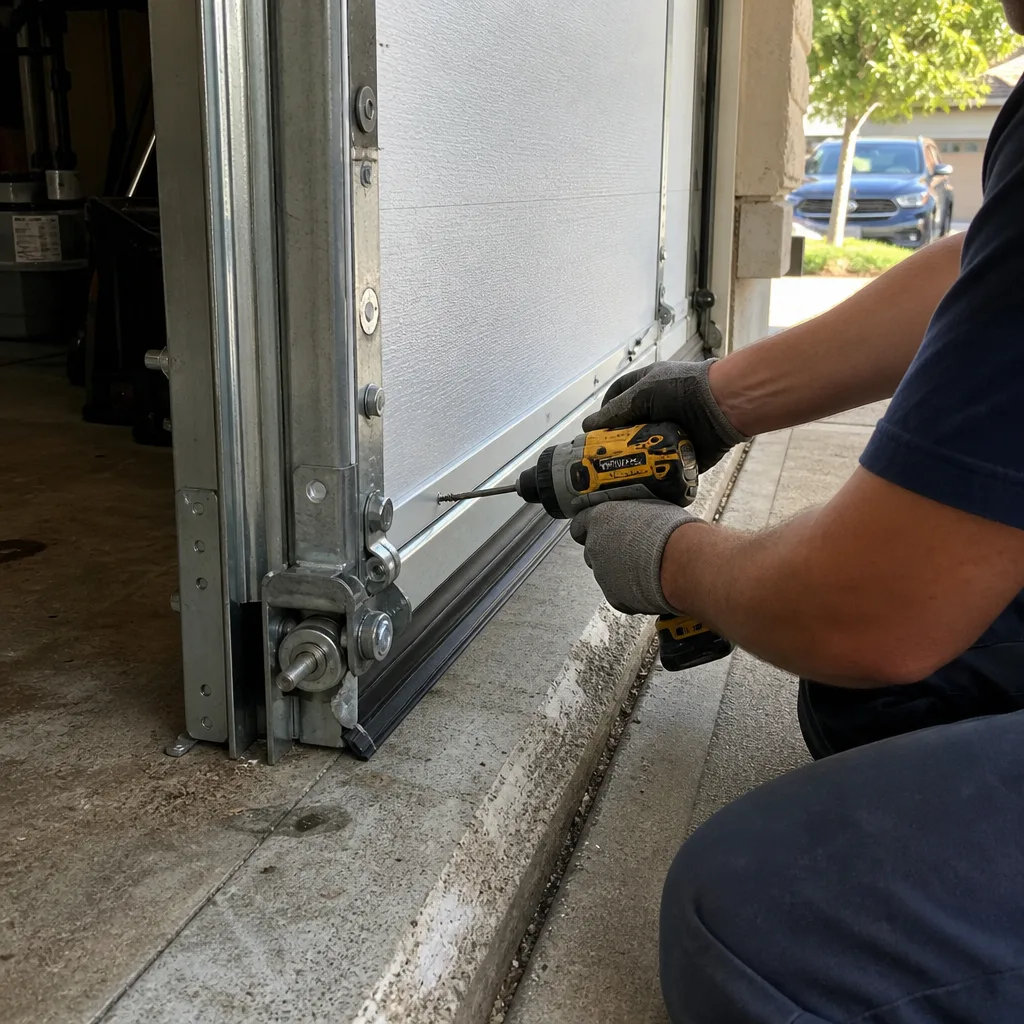
Last updated November 20, 2026
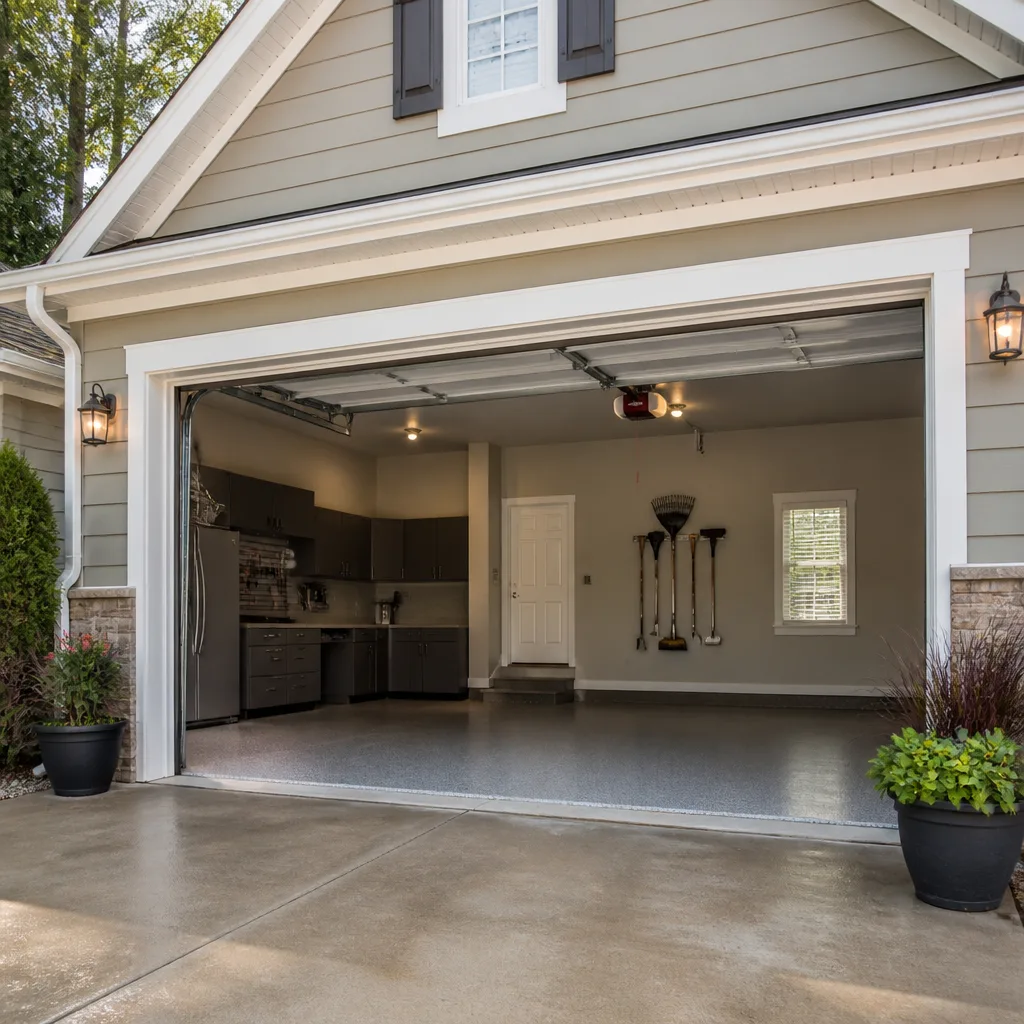
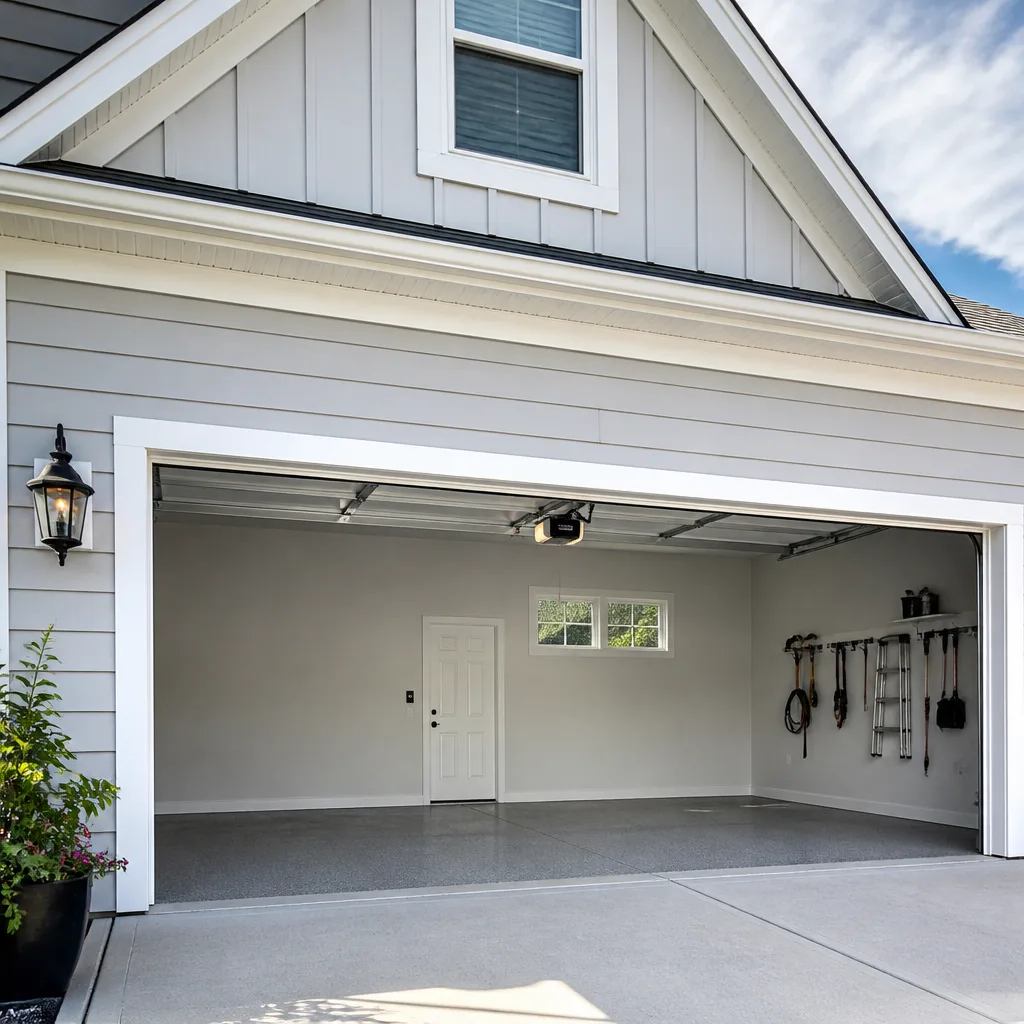
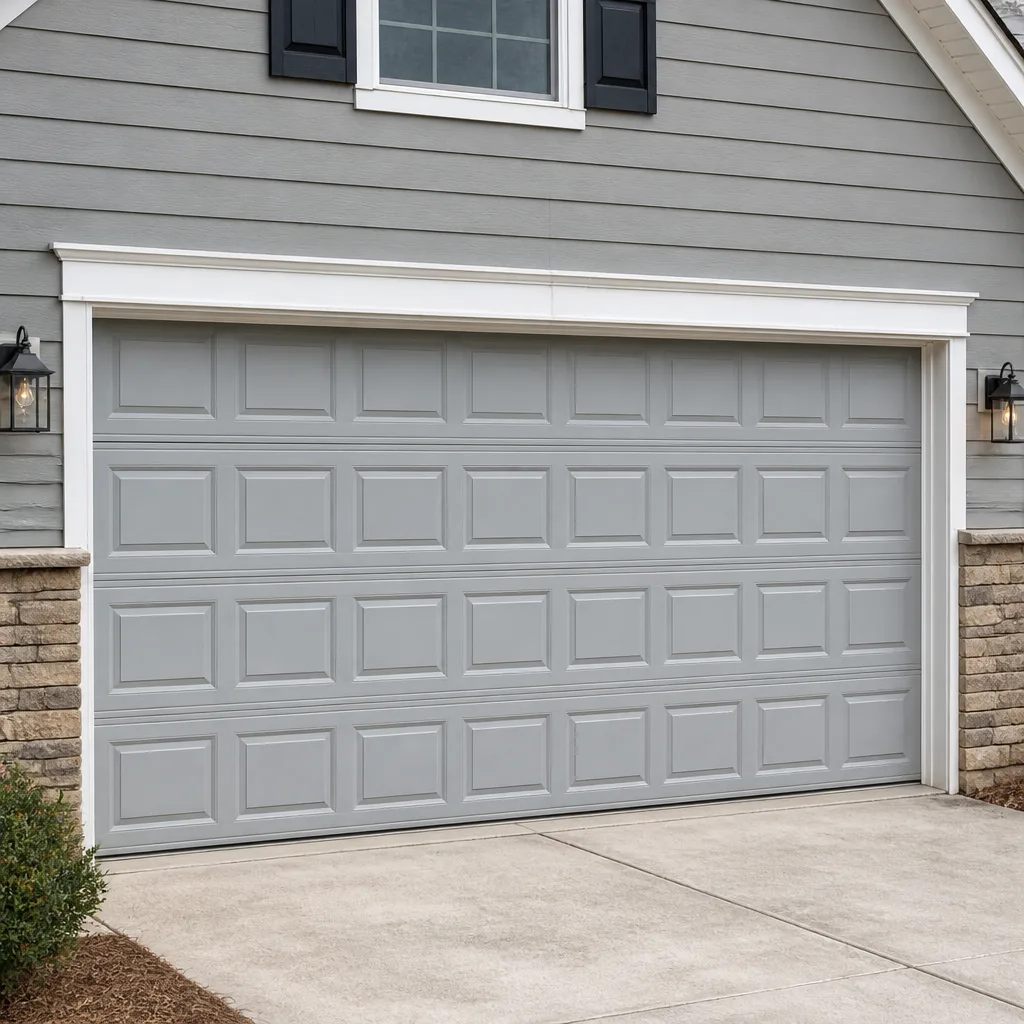 Raised-panel steel
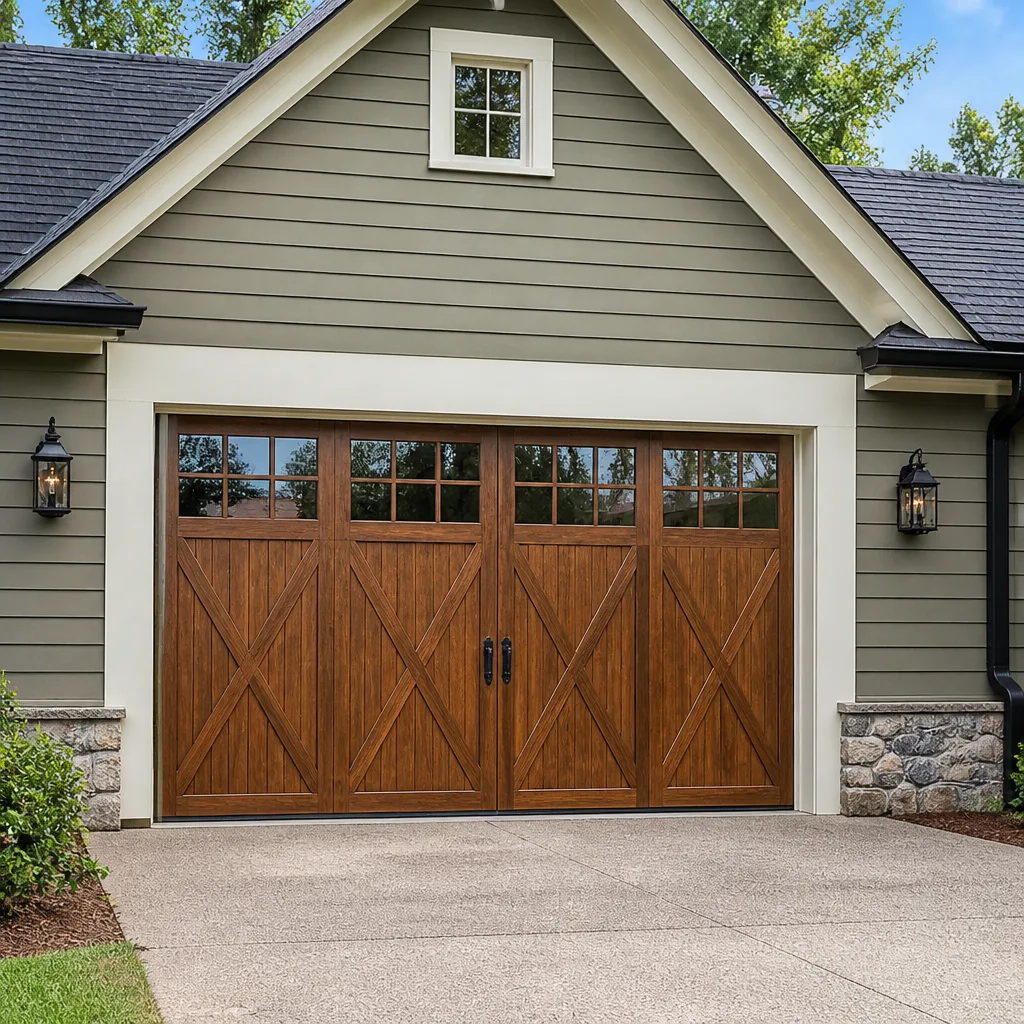 Carriage house
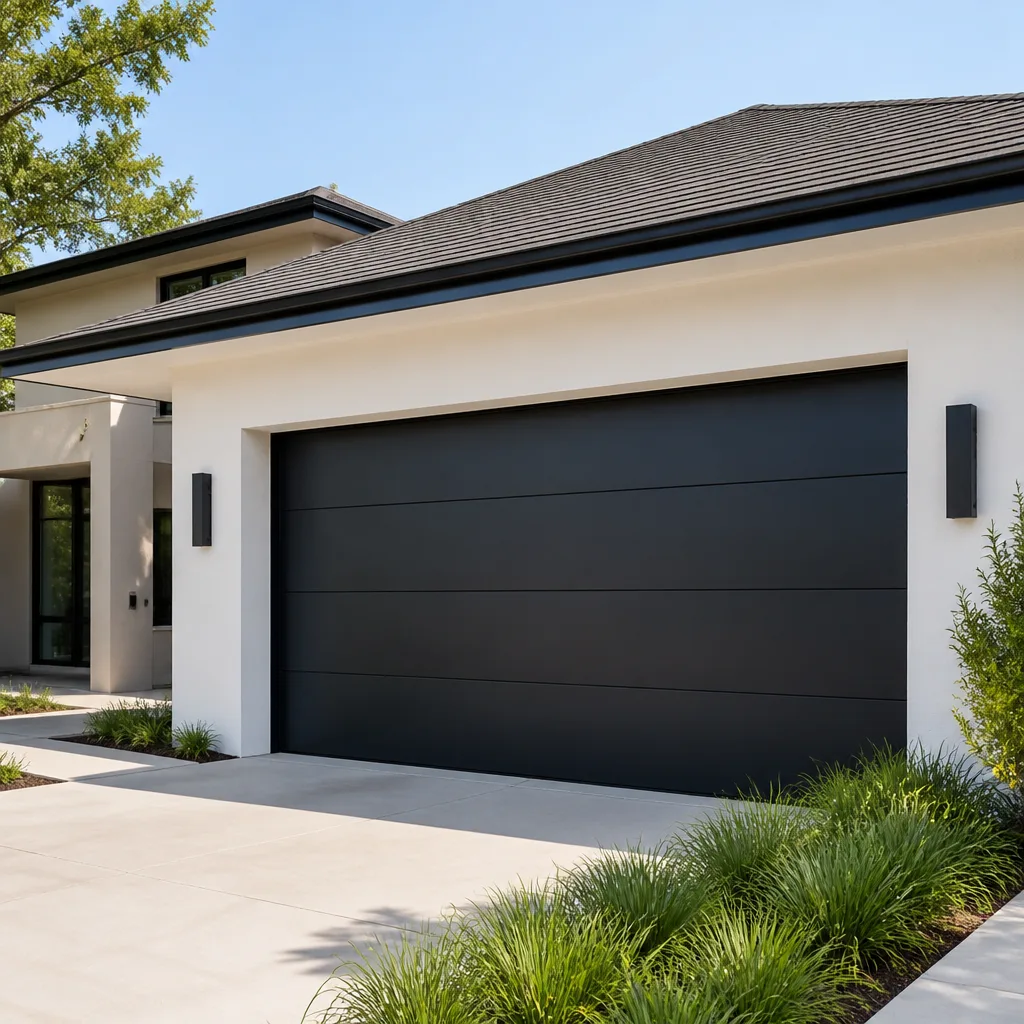 Modern flush
 Full-view glass
 LiftMaster openers
 Chamberlain openers
Full 25-point door and opener safety check with every visit - springs, cables, rollers, tracks, and your LiftMaster or Chamberlain opener included
You get a price before we start. It does not change when the pro arrives.
Get your free estimateGarage Door Repair Maintenance Checklist for Lakewood Homeowners
Most homeowners finish a garage door “maintenance check” and still miss the problem. The reason is simple: the checklist gave them a task with no pass/fail standard. “Lubricate the rollers” tells you nothing about whether your rollers are already past the point of replacement. “Inspect the springs” tells you nothing about what a fatigued spring actually looks like. A checklist without a threshold is a chore list, not a diagnostic tool. This guide changes that. Every checkpoint below comes with an observable pass/fail standard – a sound, a measurement, a visual indicator – so you know whether to monitor, act, or call. We’ve built these intervals around Lakewood’s freeze-thaw cycle, which compresses the maintenance calendar compared to milder climates.
Quick Answer
A useful garage door maintenance checklist for Lakewood runs six checks on a seasonal rhythm – balance, springs, rollers and hinges, tracks, weather seal, and opener reversal – and each check needs a pass/fail standard, not just a task. In Lakewood’s freeze-thaw climate, inspect the door at least every three months and after any hard cold snap, because the cycle between freezing nights and warm afternoons works hardware loose faster than in stable climates. Anything involving springs, cables, or the torsion assembly is a professional call, not a homeowner job.
Styles & brands we work with
- Raised-panel steel
- Carriage house
- Modern flush
- Full-view glass
- LiftMaster openers
- Chamberlain openers
Table of Contents
- Why Lakewood’s Climate Compresses Your Maintenance Calendar
- The Balance Test: Your First Pass/Fail Check
- Spring Inspection: What Fatigue Actually Looks Like
- Rollers and Hinges: Measuring Past the Replacement Threshold
- Tracks and Hardware: The Torque and Alignment Check
- Weather Seal and Bottom Rubber: Judging the Gap
- Opener and Safety Reversal: Testing It Correctly
- Component Lifespan Benchmarks for Lakewood Homes
- How to Log Maintenance So a Technician Can Use It
- What’s Safe to Do Yourself and What Isn’t
Why Lakewood’s Climate Compresses Your Maintenance Calendar
Manufacturer maintenance schedules are usually written for a generic climate. Lakewood isn’t generic. The freeze-thaw cycle – a hard freeze overnight, a sunny thaw by afternoon – is the single biggest driver of garage door wear in this city, and it runs for months. Metal expands and contracts with each swing. Bolts that were snug in October back off by February. Grease that flows freely in summer thickens and stops doing its job. The ground under your slab heaves slightly and settles, which nudges track alignment over time.
The practical result is that a schedule written as “annually” in a mild climate becomes “quarterly, plus after a hard cold snap” here. What that means in practice:
- Inspect every three months. Treat this as your baseline cycle for all six checks in this guide.
- Recheck after any stretch of hard overnight freezes. A week of single-digit nights followed by warm days is exactly when loose hardware shows up.
- Lubricate more often than the label says. Cold thickens lubricant; if your door is noticeably noisier on cold mornings, it’s telling you the grease has stopped working.
- Watch the bottom seal in early spring. Freeze-thaw and moisture at the slab edge are hard on bottom rubber.
We see the pattern clearly across Lakewood homes: doors that get a quarterly touch-up hang onto their hardware far longer than doors that get one annual pass. The seasonal rhythm does most of the work. If you want a single number to remember, make it four – one check per season, with a cold-snap bonus check built in.
The Balance Test: Your First Pass/Fail Check
The balance test tells you whether your springs are still carrying the door’s weight evenly, or whether the opener is doing work it was never meant to do. It’s also the one check that’s genuinely safe for a homeowner because you never touch the springs. Here’s the pass/fail procedure:
- Close the door fully and disconnect the opener using the manual release cord. The door should stay put.
- Lift the door by hand to about waist height and let go. Don’t force it; let it find its own position.
- Watch where it stops. A balanced door holds roughly in place, maybe drifting slightly.
Pass: The door stays within a few inches of where you released it, in both directions.
Marginal: It drifts down or up but slowly. Time to schedule a check.
Fail: It drops quickly, slams down, or feels heavy enough that you’re straining to lift it. Stop using the door and call a professional. Heavy operation means the springs have lost tension, and a struggling door puts dangerous load on the opener and cables.
Run the test twice – once lifting, once lowering – because a door can be balanced going up and not coming down. If the door passes but a garage door opener repair issue is what sent you looking in the first place, note the balance result anyway. For example, a LiftMaster opener that pauses or reverses mid-travel often isn’t the opener failing at all; it’s reacting to a door that’s out of balance and fighting it. That single data point saves the technician a diagnostic step and, sometimes, the cost of a new unit you didn’t need. If the door fails the balance test, that’s your answer: springs, not electronics.
Spring Inspection: What Fatigue Actually Looks Like
This is the section that matters most, and it’s the one where we put the strongest warning up front. Garage door springs store enormous energy, and the cables and torsion assembly under them are under constant tension. Do not touch, adjust, or attempt to remove a spring or cable yourself. A trained professional handles this work, and that boundary is not negotiable. What you can do is look and listen, then report.
Visual pass/fail for torsion springs (the ones mounted on the shaft above the door):
- Pass: Even coils, no visible gaps opening up, no rust flakes. The color should be uniform.
- Monitor: A thin line of rust along the coil or slight unevenness between coils. Springs don’t fail on a schedule; they fatigue, and visible wear is the warning.
- Fail: An obvious gap where a coil has broken, the door won’t lift, or you heard a loud bang from the garage with no other explanation. Stop using the door.
For extension springs (mounted on the sides, running parallel to the tracks): Look for the safety cable running through the center of the spring. If it’s missing, that’s a red flag – and if you see any stretched or separated coil, don’t operate the door. Listen for a metallic snap or bang from the garage; a broken spring is one of the few garage door sounds that means “call now.”
Silent indicators: A door that’s suddenly slow to start lifting, a grinding sound, or the opener straining are all signs the springs may already be fatigued. Our technicians have up to 14 years of experience reading these signs, which is why we treat spring work as a named specialty rather than a sideline. Whether your door runs a standard torsion setup or something older, we know the difference. A Craftsman or Raynor door that’s been whispering for weeks is worth a look before it announces itself.
Rollers and Hinges: Measuring Past the Replacement Threshold
“Lubricate the rollers” is the most-copied garage door line on the internet, and it’s the least useful. The question isn’t whether you lubricated them; it’s whether you already waited past the point where lubrication helps. Here’s how to tell.
Rollers – lift one track slightly and watch a roller roll:
- Pass: Rolls smooth and quiet, no wobble in the stem, body isn’t cracked.
- Monitor: Slight flat spot or wobble – lubricate and recheck next cycle.
- Fail: The roller wobbles on its stem, has a cracked wheel, or rolls with a grinding feel. Once a roller reaches this stage, grease won’t save it; it should be replaced. Steel rollers eventually wear the tracks, so a noisy steel roller is costing you a track too.
Hinges: Look for wear at the pivot points. Pass means hinges move freely with no slop. Monitor means a bit of play. Fail means the hinge is bent, cracked, or the pivot pin is visibly worn – a bent hinge misaligns the whole panel, and you’ll see it as a gap in the door’s edge line.
All of these are homeowner-safe: you’re observing and applying a bit of lubricant, not working on springs or cables. The benefit is real. One of the easiest fixes we see is a door that just needed proper lubrication at the right intervals, not a replacement. If a Clopay door is groaning every time it starts moving, the fix might be simpler than frustration suggests. Sourcing the specific roller or hinge for a given system matters too – and if you’d rather not hunt for parts yourself, garage door repair covers the components that wear at both ends of the door.
Tracks and Hardware: The Torque and Alignment Check
Tracks look like fixed structure, but they drift. Lakewood’s shifting ground and freeze-thaw give them a gentle push every season, and loose bolts follow. Tracks are safe to inspect by hand – you’re not freeing jammed openers or force-lifting doors, just checking alignment and torque.
The check, in order:
- Step back and sight down each track from one end. The two runs should look like straight parallel lines.
- Run a hand along the inside face of the track; feel for dents, kinks, or a narrowing gap.
- Check the bolts holding the tracks to the wall and the brackets at top and bottom – snug them by hand or with a wrench, but avoid overtightening.
- Look for the decorative brace or horizontal track spacing and confirm nothing has pulled away from the wall.
Pass: Tracks parallel, no dents, brackets tight and flush.
Monitor: Minor misalignment you can see but the door still moves cleanly.
Fail: Visible dents, a track pulled out of line, or a door that feels like it’s binding or squealing in one spot. Stop operating the door and call a technician; a binding door under spring tension can bend panels or snap a cable.
Track adjustment comes under Lakewood Garage Door Repair Pros for a reason. Once the torsion assembly is under tension, things that look like simple alignment turn into a job with real load on it. If you’re in a Lakewood neighborhood like Belmar or the older housing near Alameda, where homes switch between attached and detached garages, note that detached garages see more track movement because the slab separates the two structures and they settle at slightly different rates. Mention that to the technician; it’s useful context.
Weather Seal and Bottom Rubber: Judging the Gap
Weather seals are the cheapest component to replace and the one most Lakewood homeowners ignore until they’re paying to heat cold air leaking under the door. The check is simple once you know the standard.
Bottom rubber:
- Pass: The seal compresses flat against the floor across the whole width, no daylight visible from inside.
- Monitor: Small gaps at one end, or a seal that looks flattened but still contacts the floor.
- Fail: Daylight under the door, a split or torn seal, or the rubber has stiffened enough that it won’t flex seal against the slab edge. After a Lakewood winter, stiff, brittle bottom rubber is common because the freeze-thaw cycle hardens it faster than in warm climates.
Side and top seals: Look for a clean line where the seal meets the jamb. Any gaps, curling, or daylight means replacement. A gap means wind-blown dust, snow, and cold air get in – and it’s also the first clue that seals have exceeded their lifespan.
What it means for the door: A failing bottom seal also tells you something about the door system itself. If the seal is compressed in one spot and not another, that’s often a sign of track or balance misalignment carried downstream. Fix the seal and you may find the door running better. If you’re thinking about a replacement door entirely, garage door installation is where seal choice gets made, and it’s worth asking specifically how the new bottom seal performs on Lakewood’s cold nights.
Opener and Safety Reversal: Testing It Correctly
The opener is where most “the door is broken” calls actually originate, and the safety reversal test is where you can catch a serious fault before it causes a problem. Run this every quarter – it’s quick and it’s the one test most homeowners never do.
- Close the door and confirm the tracks and balance have already passed. Don’t test an opener on a door that’s binding.
- Place an object – a piece of wood or a full box – in the door’s path, at the center of the opening.
- Press close. The door should reverse within a couple of inches of the object.
- Test the photo-eye sensors by pressing the close button while breaking the beam between the sensors with your foot or hand. The door should stop and reverse.
Pass: Reverses immediately, every time, both ways.
Fail: The door keeps pushing against the object, doesn’t reverse, or the sensors show a fault light. Stop using the opener until it’s fixed.
The other common opener symptom: the opener works but is weak, jerky, or stops mid-travel. Before you assume the motor is dying, check balance and track first. On a LiftMaster or Chamberlain unit that’s only a few years old, the opener is rarely the culprit; it’s usually a door that’s gotten harder to lift. Our opener repair covers the dominant systems – LiftMaster, Chamberlain, Genie, and Craftsman – and if the unit truly needs replacing, that’s a conversation about options, not a reason to panic. For a one-number summary of your opener check: does it reverse, and does it reverse every single time? If the answer isn’t a clean yes, call before the next close.
Component Lifespan Benchmarks for Lakewood Homes
A maintenance checklist serves you best when you track age, not just condition. Components fail at predictable points, and Lakewood’s climate history tilts the odds. Use these benchmarks – they’re typical ranges for this climate, not warranties on your specific door:
Component lifespan, broadly:
- Garage door springs: Usually well under a decade in active households. A door cycled more often ages faster, and Lakewood doors carry a fair share of cycles. If your springs are past mid-life and showing any visual wear, plan a professional inspection before they fail.
- Rollers: Though quality varies by type, steel rollers tend to need replacement before nylon ones. If yours are original and the door’s been through several Lakewood seasons, expect to replace them soon.
- Opener units: Most homeowners get a good service life before replacement, but track the age anyway. An opener at the end of its range combined with other wear often tips the decision toward replacement.
- Bottom seal and weatherstrip: One of the shortest-lived parts in this climate; check annually and expect to replace more often than you’d think.
- Track and hinges: Long-lived components, but Lakewood freeze-thaw bolts calling the tune, so keep a torque check on the calendar.
- Cables: Long-lived but sacrificial: a cable that shows fraying at any point is a fail, and a cable is a professional job every time.
The practical takeaway: keep a running log of approximate ages, not just a visual grade. The technician who arrives with a lifespan estimate plus a history of past maintenance is minutes from the real fix.
How to Log Maintenance So a Technician Can Use It
Maintenance history is only as useful as its format. A technician arriving on a call needs to know the door’s age, what you’ve done, and what you’ve observed – in a form that avoids redundant diagnostics. Here’s how to log it so it works:
- One line per check, with a date and a pass/monitor/fail grade. “Springs – visual – monitor – slight rust along coil.” Twenty seconds to write, and it tells the tech whether the spring failure is a surprise or a long bookkeeping journey.
- Note the sound. Sounds are diagnostic. “Metallic snap at 6:40 a.m., door won’t lift” tells the tech what happened before they arrive. Write it down while you remember.
- Record replaced parts and their dates. Roller swap, seal replacement, opener reset – all of it.
- Keep brand and model on the top line. Whether it’s a Wayne Dalton door, a Raynor setup, or an opener on the opposing wall, the brand and model save a lookup. We’re factory-familiar with eight of the most widely installed brands – LiftMaster, Chamberlain, Genie, Clopay, Amarr, Wayne Dalton, Craftsman, and Raynor – so a model name buys you a shorter diagnostic, not a sales pitch for a dealer.
- Note anything unusual about the door’s environment. The number of vehicles in the garage, whether it’s a detached structure, and whether the door sticks in cold weather are all relevant context.
This log is one of the few maintenance steps that buys you real time on a service call. It’s not paperwork for its own sake; it’s what lets the person turning up know your system.
What’s Safe to Do Yourself and What Isn’t
We’re not going to pretend every task is a homeowner job, and we’re not going to discourage the ones that genuinely are. Here’s the honest boundary:
Safe for you to do:
- Lubricating rollers, hinges, and springs surfaces – applying lubricant only, never touching the spring’s tension.
- The balance test, with the door disconnected and lifted by hand.
- Tightening visible track and bracket bolts.
- Testing the safety reversal and photo-eye sensors.
- Inspecting and logging what you see and hear.
- Replacing the bottom seal, if you’re comfortable with the tools.
Professional only, every time:
- Anything with the springs. The tension in a torsion spring is immense and releases without warning. A homeowner touching spring tension is the single most dangerous thing you can do on this list. We mean this literally; springs are stored energy, and there is no safe way to hand-apply a torque wrench to one.
- Cables and torsion shaft. Same risk, plus sudden failure.
- Panel replacement and track realignment under tension. One wrong move and the whole system is out of balance – and the resulting labor is far more than the call.
- Opener wiring to the home’s electrical supply. Leave the electrical to a licensed professional; a door that works is worth more than a shortcut.
The line is simple: if the task involves a spring, cable, or the electrical panel, it’s a call. If it involves a rag, a wrench, and a measuring eye, it’s yours. When you cross the line, the local professional we connect you with is licensed and insured as their state requires, and they arrive to a job that hasn’t been made worse.
Common Mistakes to Avoid
- Lubricating the rollers and calling it maintenance. Grease on a roller that’s already cracked or wobbling just delays the replacement and wears the track.
- Skipping the cold-snap recheck. In Lakewood, the week after a hard freeze is when loose hardware shows. A quarterly check that ignores the cold snap misses the most active wear window.
- Assuming a slow opener is a dying opener. Most “weak opener” problems are a door that’s out of balance or binding. Calling for a new opener before checking balance can mean paying for electronics you didn’t need.
- Testing safety reversal with nothing in the door’s path. Many homeowners test by pressing the button and watching, which tells you nothing about whether the safety system would catch a child. Use a real object and test the photo-eye beam.
- Nudging a broken door to get one last use. A door with a broken spring or cable can drop without warning. Don’t operate it “just this once” – that’s how a repairable problem becomes a panel and track job.
- Ignoring the bottom seal’s gap. A small daylight gap at the slab edge lets in Lakewood’s cold and dust, and it’s usually the cheapest fix on this entire checklist.
- Keeping no log at all. Without dates and sounds written down, a technician starts the diagnosis from zero, and a problem that looked like a bookkeeping journey becomes a guess.
See the difference
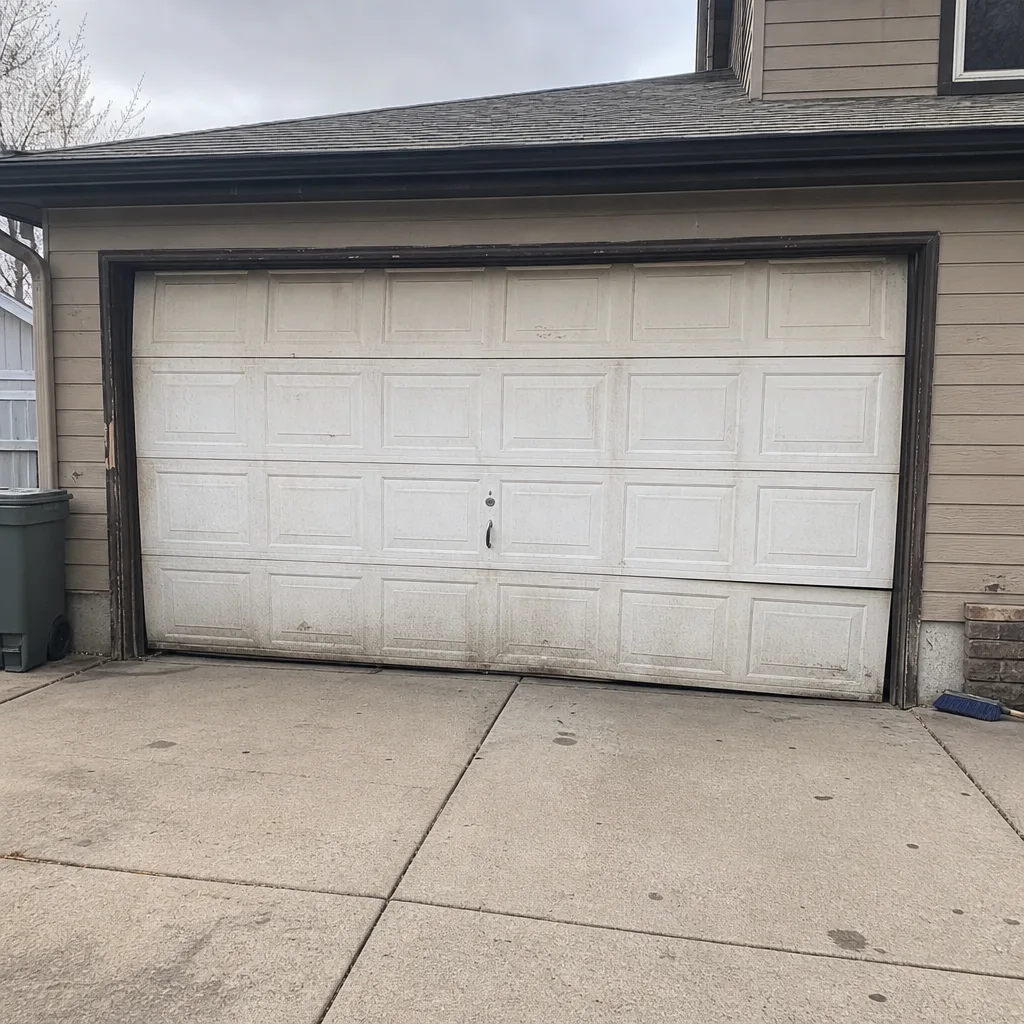 Before
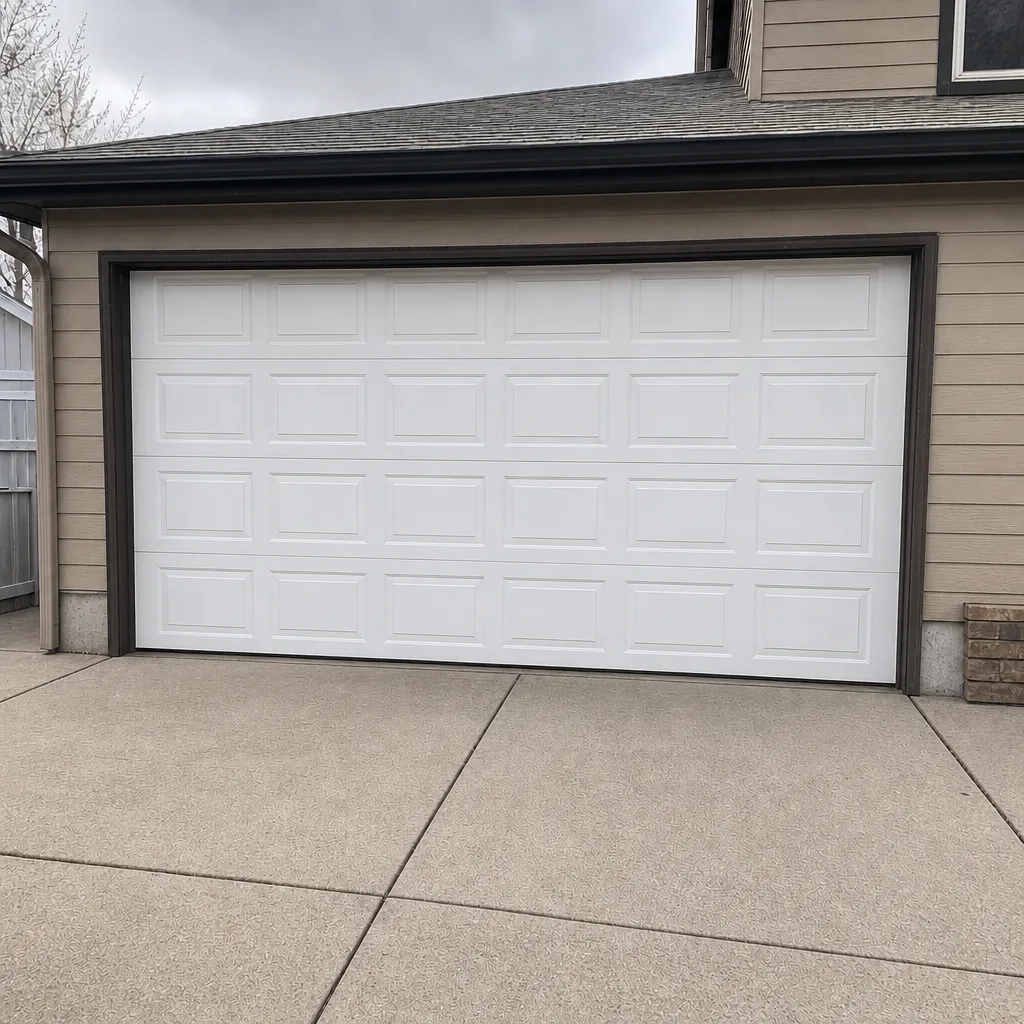 After
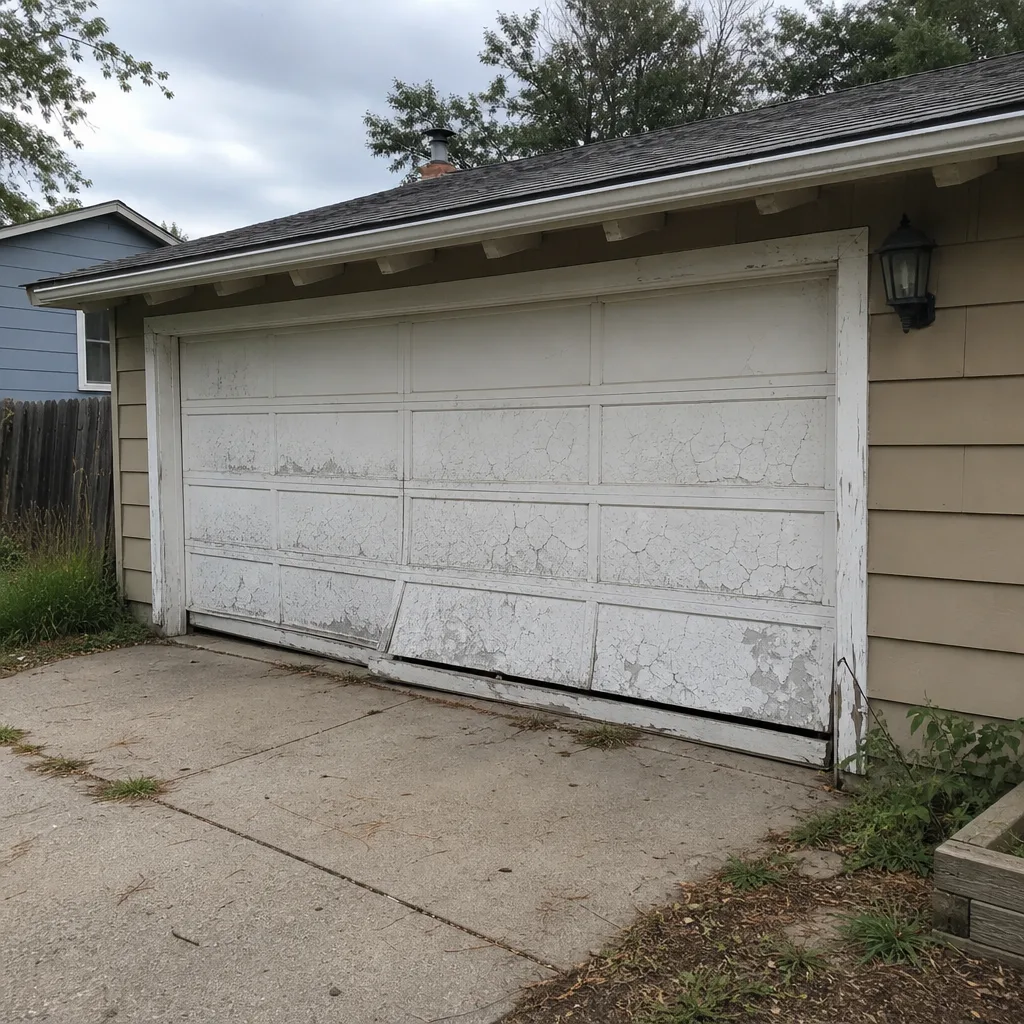 Before
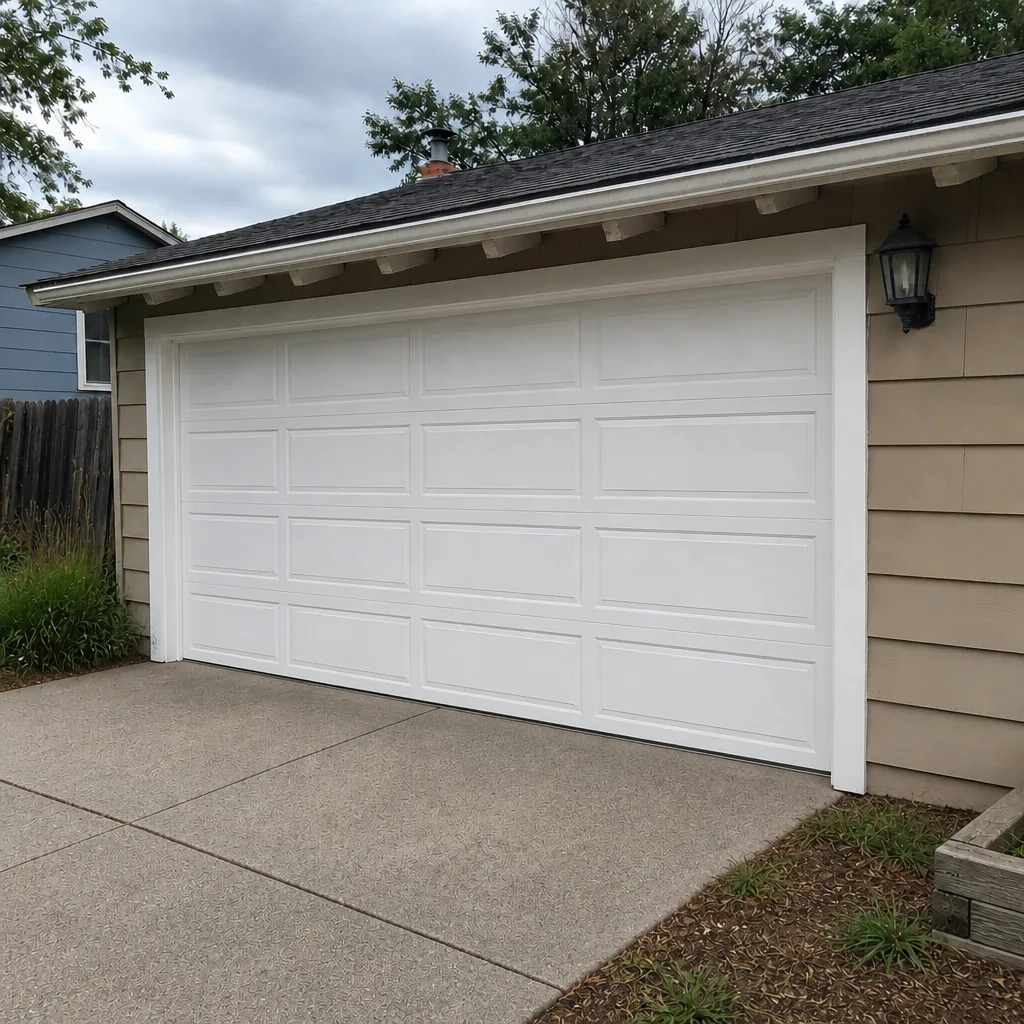 After
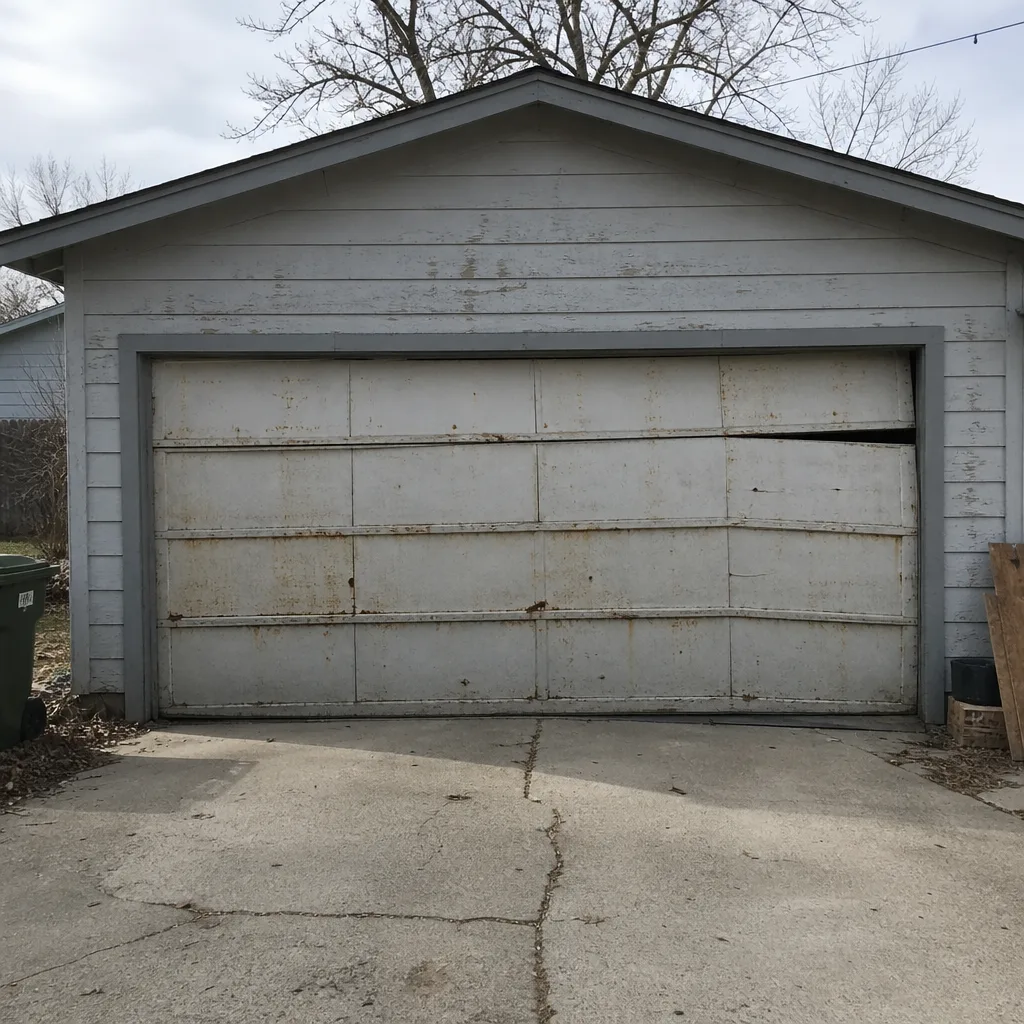 Before
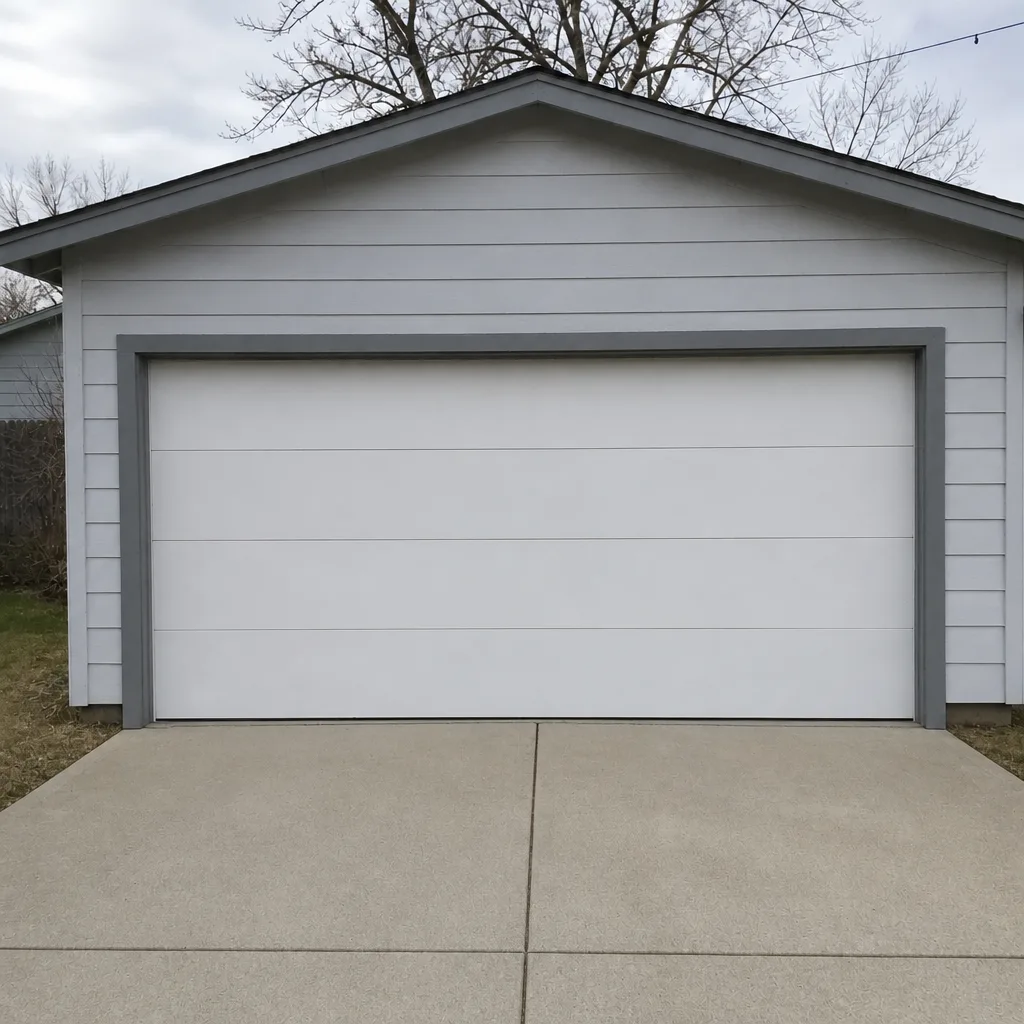 After
When to Call a Professional
Call us when the door won’t hold its own weight, when you’ve heard a snap or bang from the torsion assembly, when a cable is visibly frayed or slack, or when the door binds or squeals in a single spot on the track. Call when your opener reverses inconsistently, when the door won’t close on cold mornings, or when the bottom seal has visibly stiffened past sealing. And call when you’ve done the checks and the answer is “I don’t know” – that’s a valid outcome, and it’s cheaper to diagnose than to replace. Lakewood Garage Door Repair Pros offers free estimates in Lakewood – call (833) 608-4285. The price is quoted and agreed before any work starts, so the written estimate is the number you’ll pay. If the door fails on a Sunday, we’ll book you in; just call and we’ll take it from there.
Frequently Asked Questions
Yes. The balance test is the one check we recommend every homeowner perform, because it never involves touching a spring or cable. Close the door, pull the manual release, lift by hand to waist height and let go; if the door won’t hold, that’s the fail signal. If it fails, stop operating the door and call – a heavy door stresses the opener, cables, and track in the meantime.
Every three months, plus once after any hard cold snap. Lakewood’s freeze-thaw cycle is the biggest driver of garage door wear here, and it loosens hardware and thickens lubricant faster than a stable climate would. A quarterly check with a cold-weather bonus pass is your practical calendar; if your door is noticeably louder in cold weather, that’s the door telling you the interval was too long, so shorten it.
A fatigued spring usually shows a visible rust line along the coil, slightly uneven spacing between turns, and often a subtle stretch. It can also start with sound – a slow, weak lift or a groan from the opener doing extra work. You don’t need to know exactly how many cycles are left; you need to notice the visual or audible warning and get a professional to check it. Do not touch or adjust the spring yourself.
Not necessarily. Before you replace a LiftMaster or Chamberlain opener, check the door’s balance and track condition. An opener that struggles is often reacting to a door that’s gotten harder to lift because the springs have weakened or a roller is grinding. Fix the door and the opener may be fine. Our garage door opener repair process starts with that check for exactly this reason, and the estimate is quoted and agreed before any work starts.
The local professional we connect you with is licensed and insured as their state requires. We’re not the ones turning the bolts; we connect you to vetted independent professionals, and we’re where to start when you’re not sure which brand or system is on your door. Call (833) 608-4285 for a free estimate – the price is set before any work begins.
For genuine failures – a snapped spring, a door frozen mid-track, an opener that won’t respond – we aim for same-day service, with fast dispatch from 7am to 7pm and a free estimate first. For planned replacement work, the timeline is measured and scheduled rather than same-day, so we can measure, order, and quote properly. Either way, call (833) 608-4285 and we’ll tell you where your job lands.
The Bottom Line
A maintenance checklist earns its keep when it gives you a verdict, not a chore list. The six checks here – balance, springs, rollers and hinges, tracks, seals, and safety reversal – each have a pass/fail standard, and each standard is calibrated to Lakewood’s freeze-thaw cycle, which compresses the maintenance calendar to quarterly with a cold-snap recheck. The tasks you can safely do yourself are lubricating, testing, tightening, and logging; the ones you can’t are anything involving springs, cables, or wiring. Track component age as well as condition, and keep a log so a technician can skip the guesswork. If the door fails a check, look for the specific signal – a drift on the balance test, a rust line on the coil, a wobbling roller – and get a professional in before it becomes a bigger job. Your garage door doesn’t need to be smart; it needs to be honest about its wear.
Ready for a real inspection? Call Lakewood Garage Door Repair Pros at (833) 608-4285 for a free estimate. Our technicians have up to 14 years of experience, and whatever brand is on your door – Wayne Dalton, Craftsman, Raynor, LiftMaster, or any of the rest – we know it. Parts sourced. Problem diagnosed. Door fixed. The price is quoted and agreed before any work starts.
Written by the team at Lakewood Garage Door Repair Pros.